Nicole initially reached out to have me help organize her corner pantry. After the complimentary consult and pantry session, one space turned into four! Once the pantry was organized, I came back to organize the kitchen, bathroom, and art closet. Check out the full transformation below!
Kitchen and Pantry
Challenges
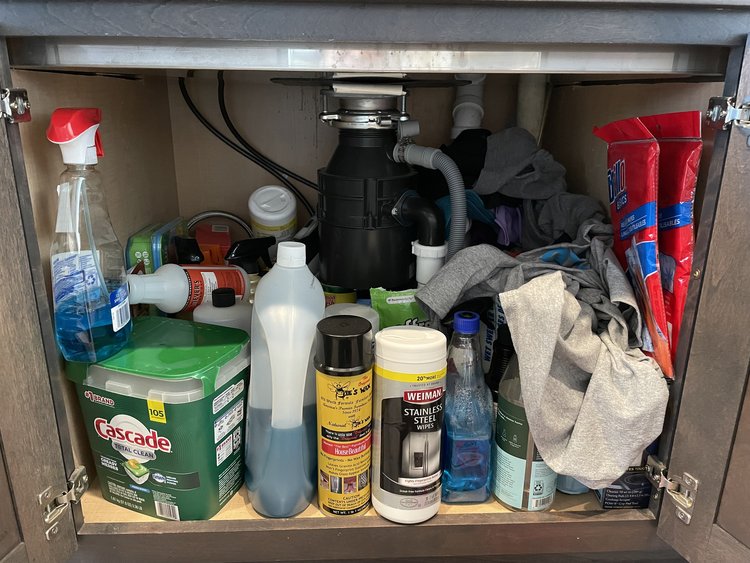
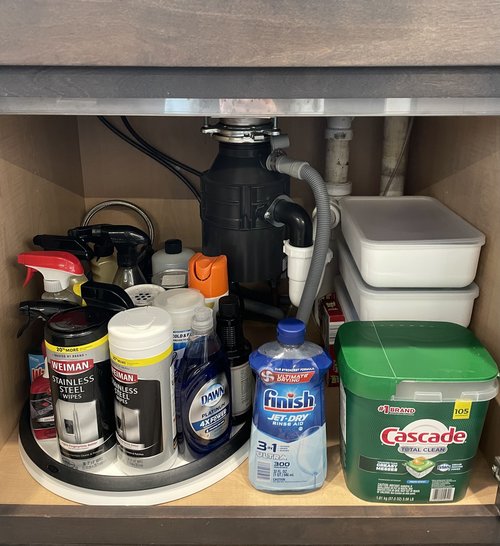
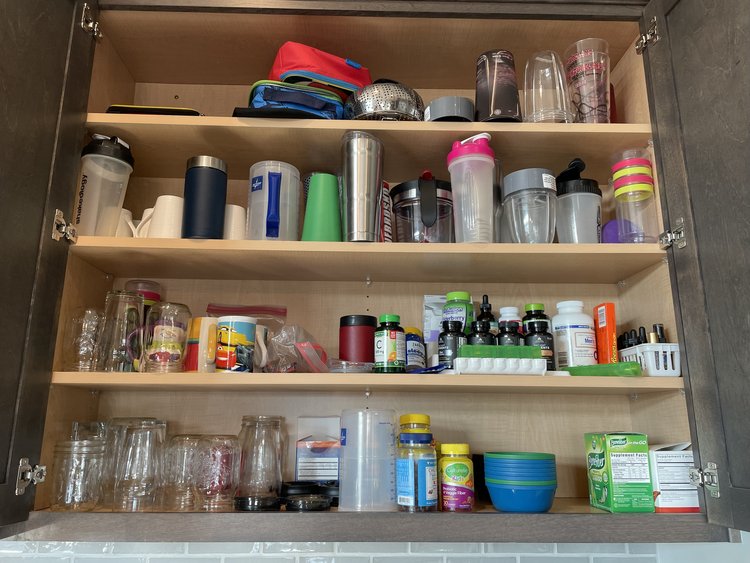
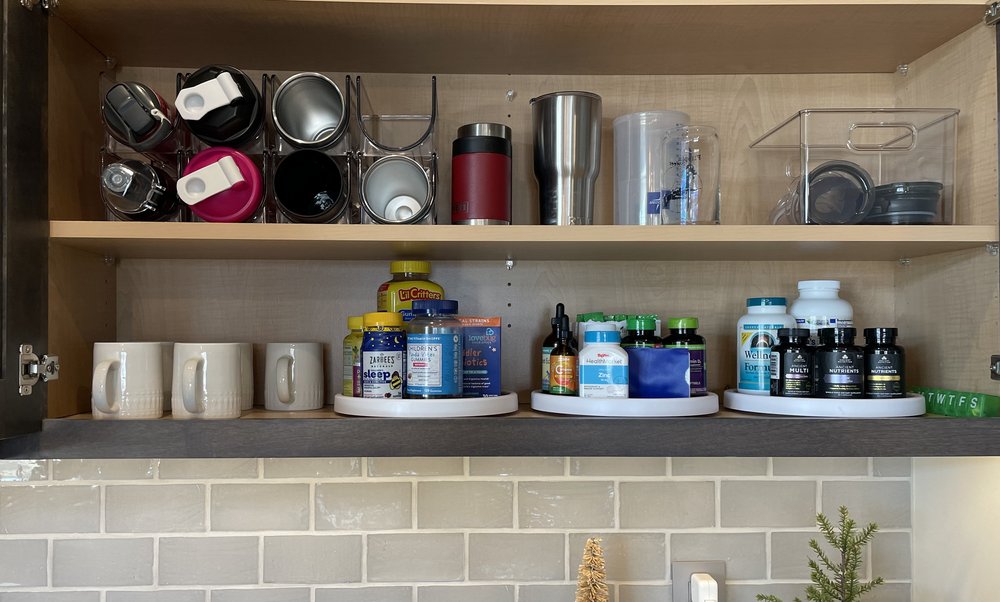
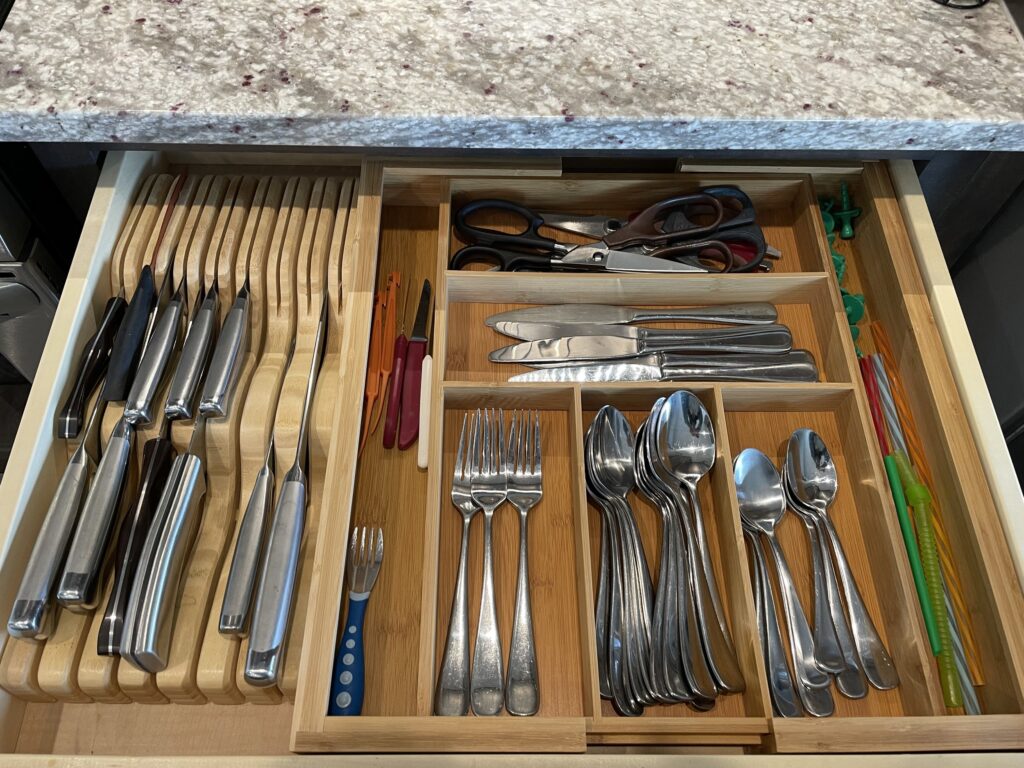
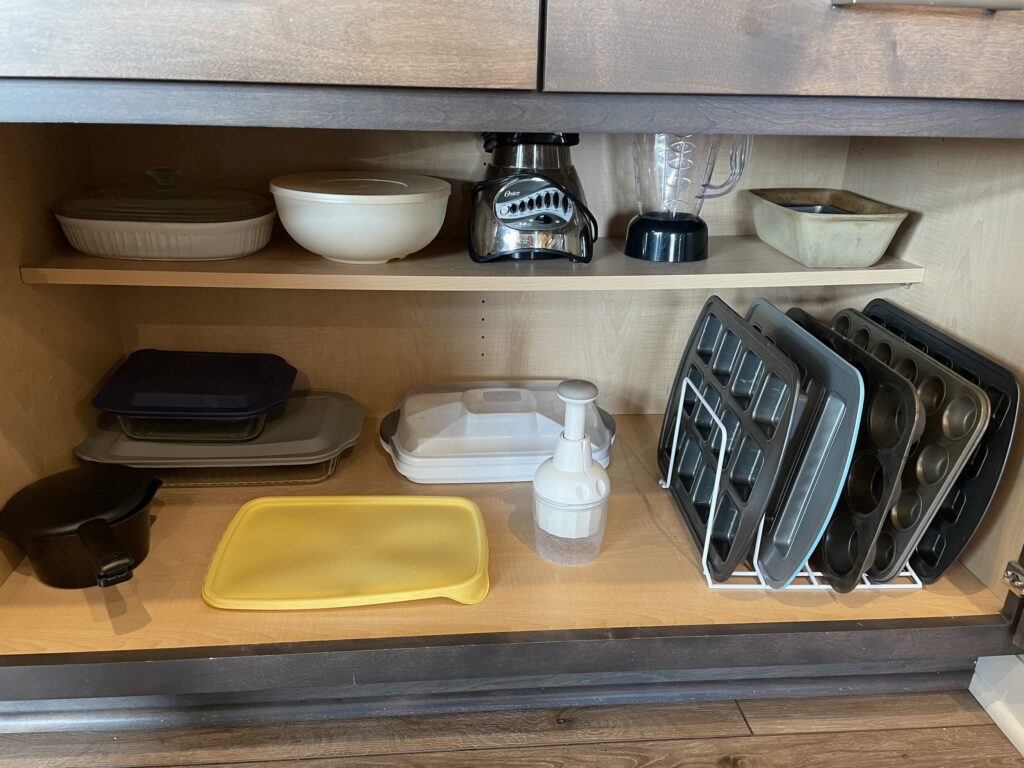
Overall, Nicole’s kitchen and pantry are both spacious. There weren’t oddly shaped cabinets or drawers to work around and the shelves were all adjustable (huge win!). For Nicole, she knew the space wasn’t streamlined or super functional. It was lacking an intuitive flow, and they were wasting a lot of money stocking up on pantry items they didn’t actually need.
Purging
The kitchen and pantry projects were completed on two separate days, but we followed the same process for both. Absolutely every single item was pulled from the space, grouped together, and then we purged. I guided Nicole a little bit, but within a short while she was in a groove and was making decisions super quickly. The purged pile continued to grow!
As she purged, I planned the layout and started to find homes for each group of items. If you’re curious about your kitchen layout and how to strategically approach the organization of it, check out my FREE kitchen layout guide!
Products
Transformation

Master Bathroom
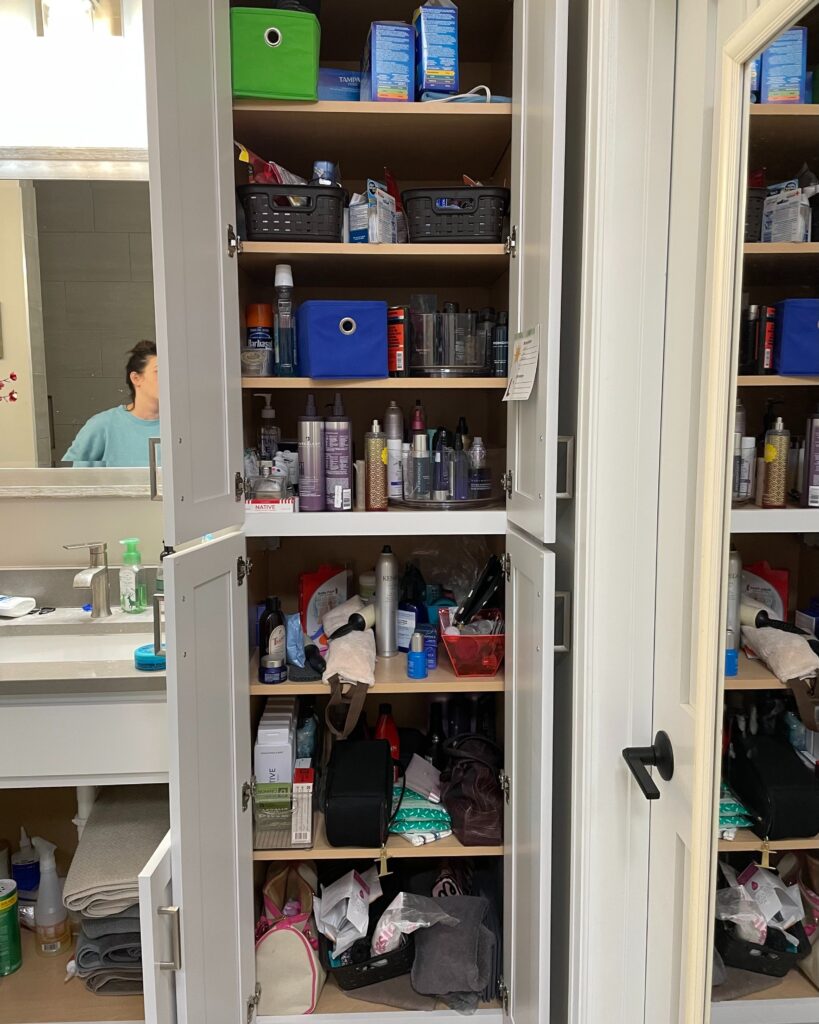
Master bathrooms are some of my favorite spaces to organize. Like a pantry, the master bathroom gets more and more cluttered over time. Things get shoved in cabinets and drawers, and there are duplicates galore. Although it’s a space that gets used multiple times a day, it’s an easy spot to just “live with” because guests rarely see it.
But believe me, once the master bathroom cabinets and drawers are purged and organized, you won’t understand how you lived with it in its previous form.
Challenges
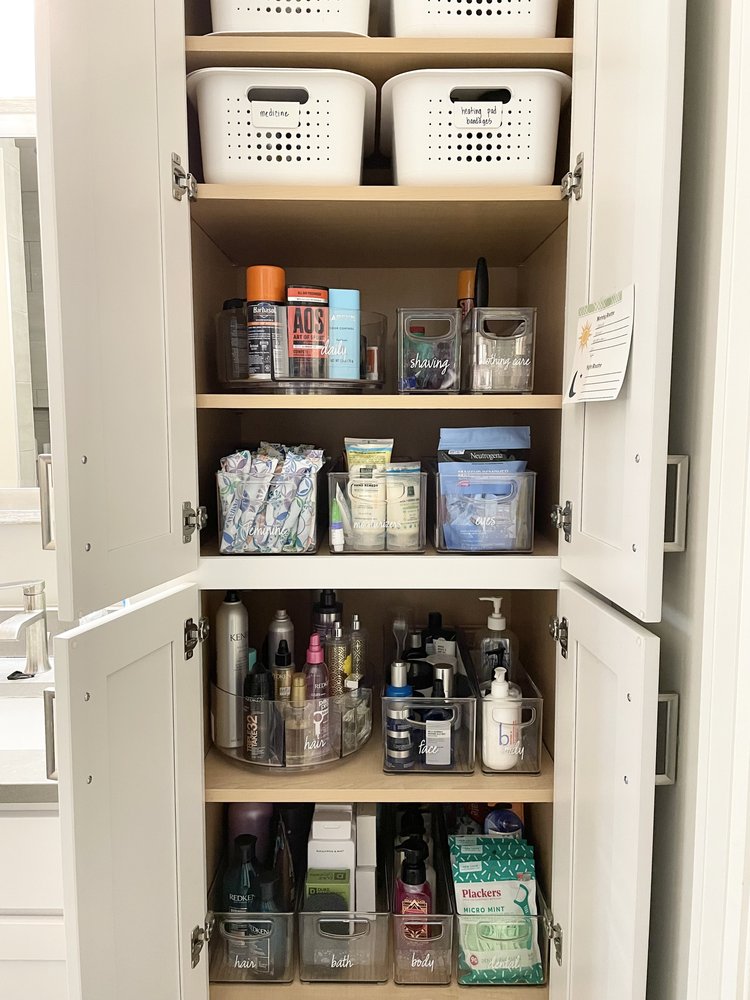
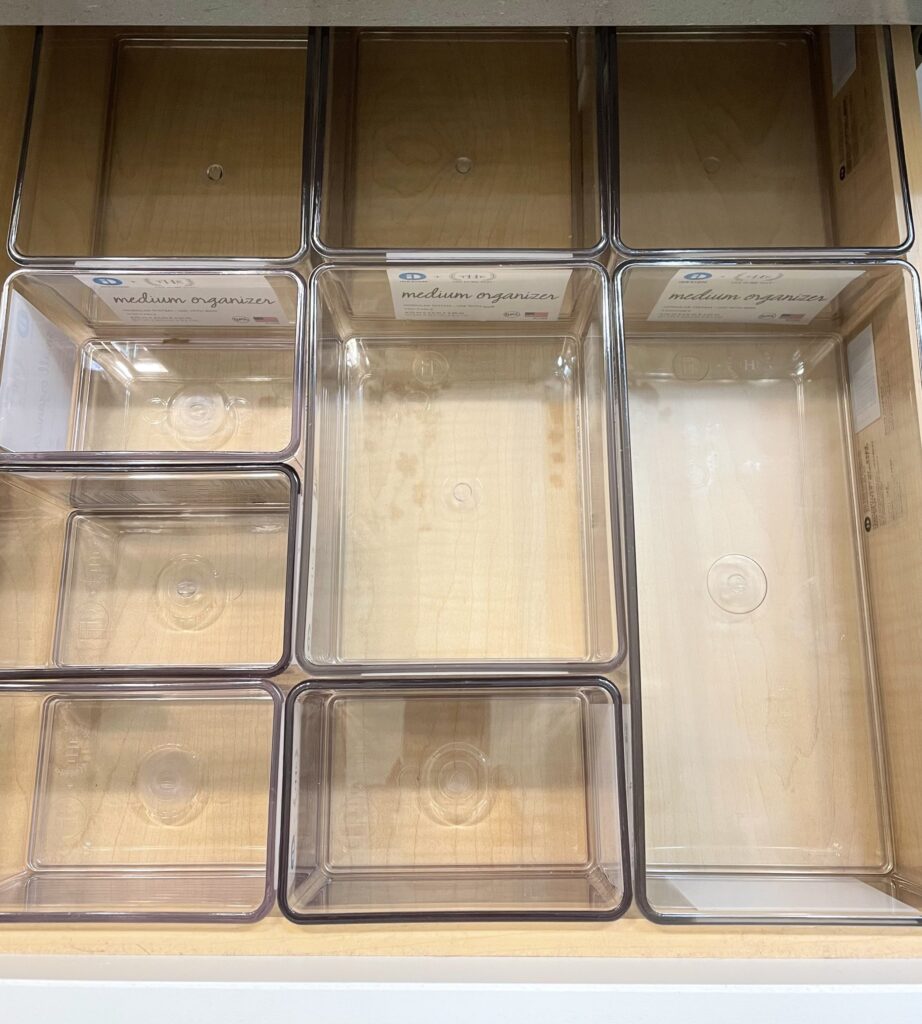
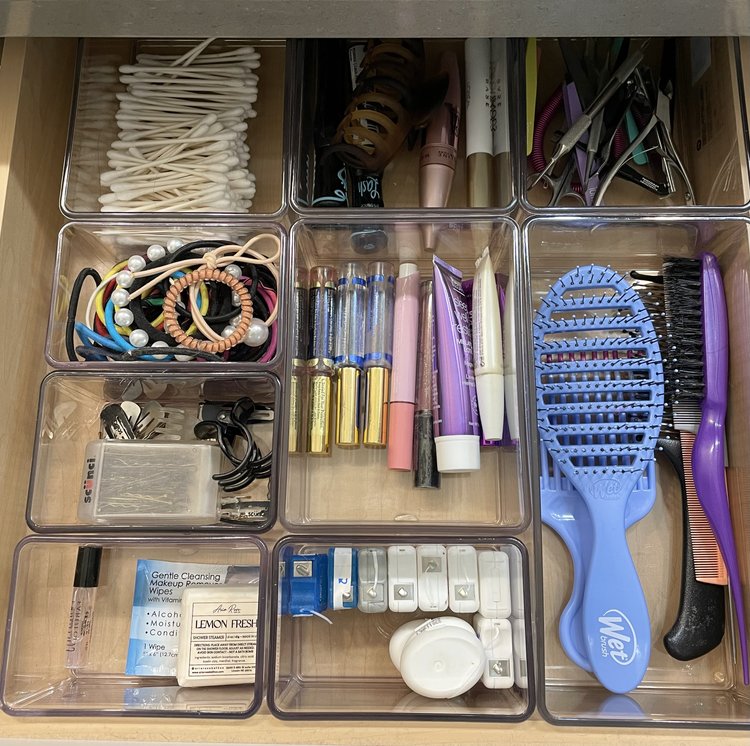
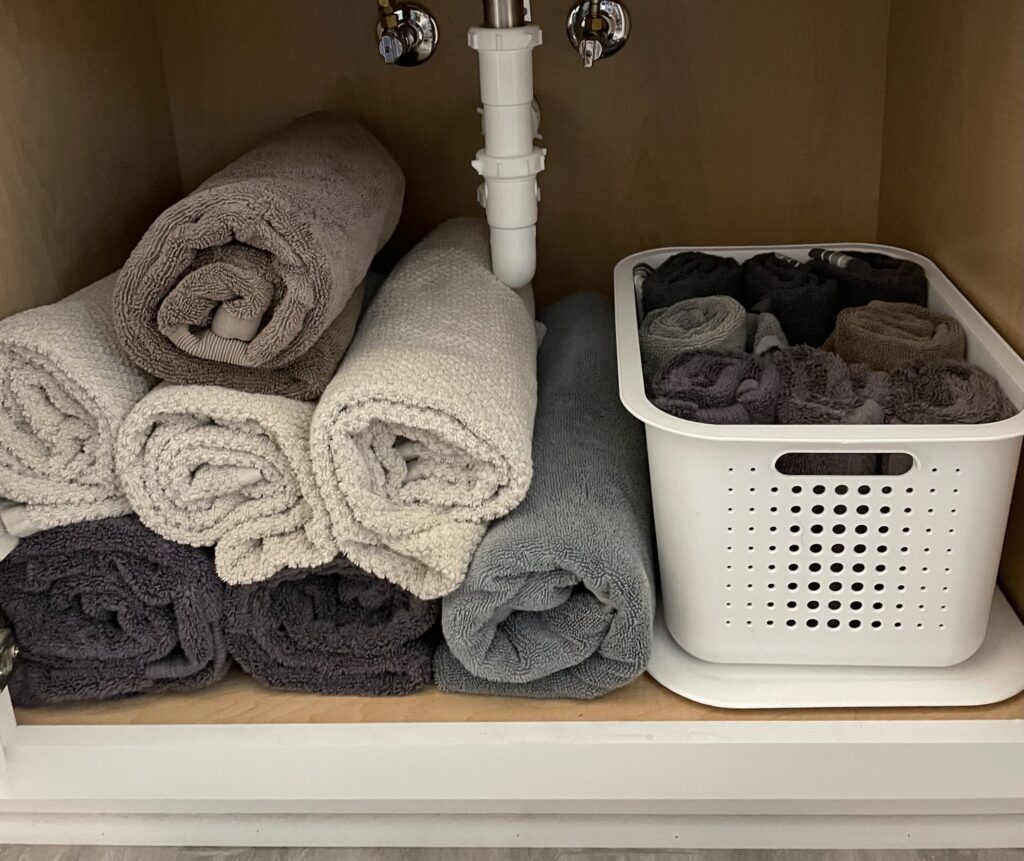
The two challenges in Nicole’s master bathroom were the deep cabinet shelves and deep drawers which are very common in new builds. The extra space seems great at first, but deep cabinets can become black holes, and items get lost in deep drawers or the majority of the space is wasted.
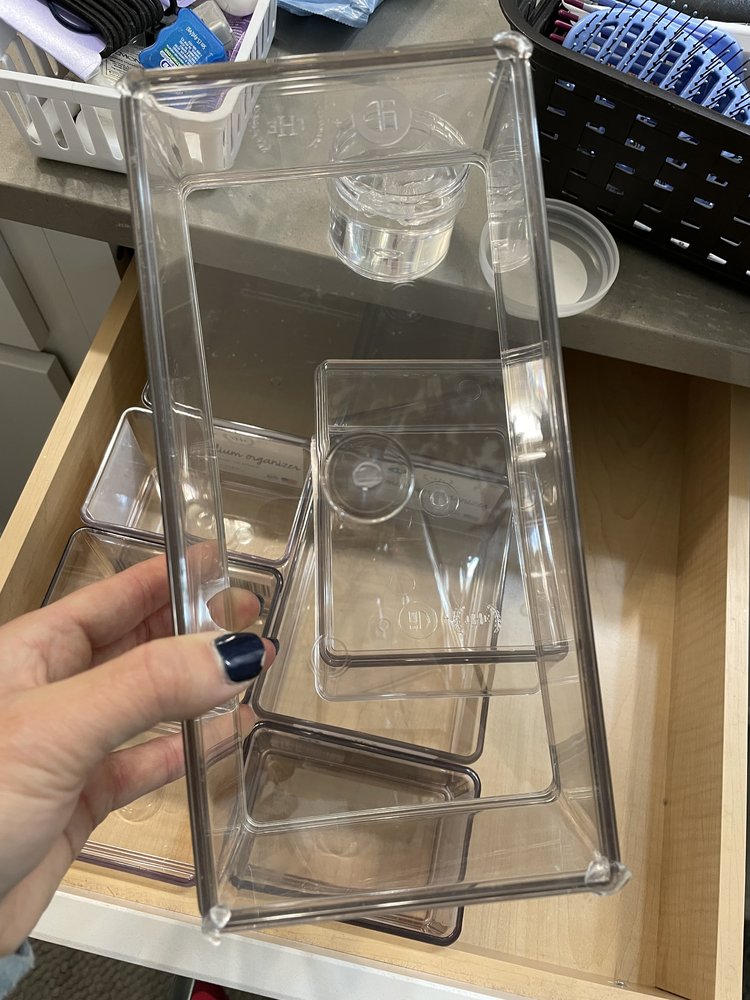
If you have deep bathroom cabinets or drawers, you need to invest in deep drawer bins and tall drawer dividers to maximize space and prevent items from getting buried.
Purging
The key to any organizing project is purging. If you’re not ready to part with items, you’re not ready to hire a professional organizer, simple as that. Nicole was beyond ready to purge the bathroom.
What’s surprising about the bathroom is how long it actually takes to go through things. It seems like a simple, 15-minute activity, but you need to set aside at least 45 minutes to go through all of the makeup, medication, skincare, hair care, travel-sized products and more. There are hundreds of little things hiding in the bathroom.
My Recommendations:
- Get rid of any sample-sizes. You tell yourself you’ll use them, but you won’t.
- If you can’t remember when you purchased a skincare or makeup item, get rid of it. The last thing you want is a skin reaction.
- Travel toiletries – Group similar items together and then purge. Save unopened items (perfect for when you’re hosting guests too).
- Be sure to dispose of old medication appropriately.
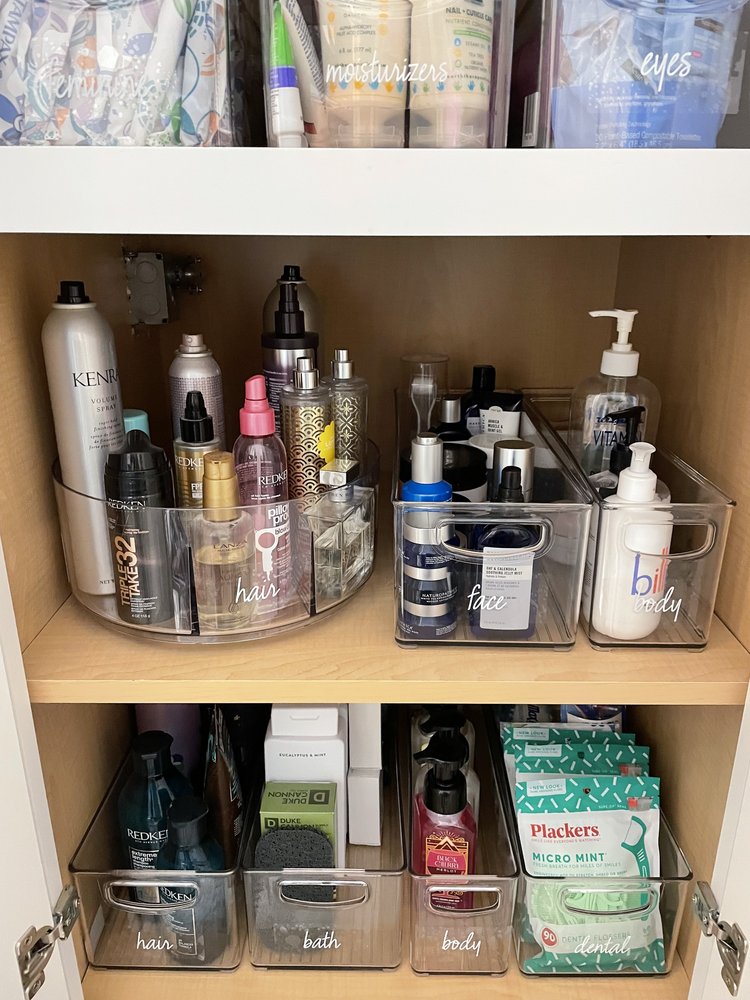
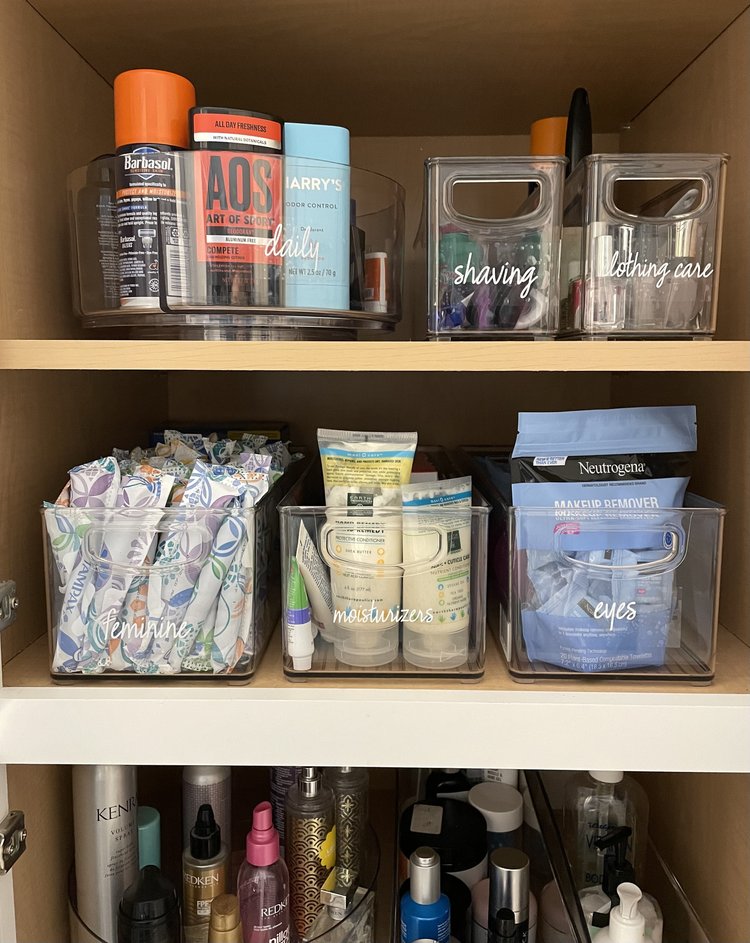
Products
- Deep Drawer Dividers
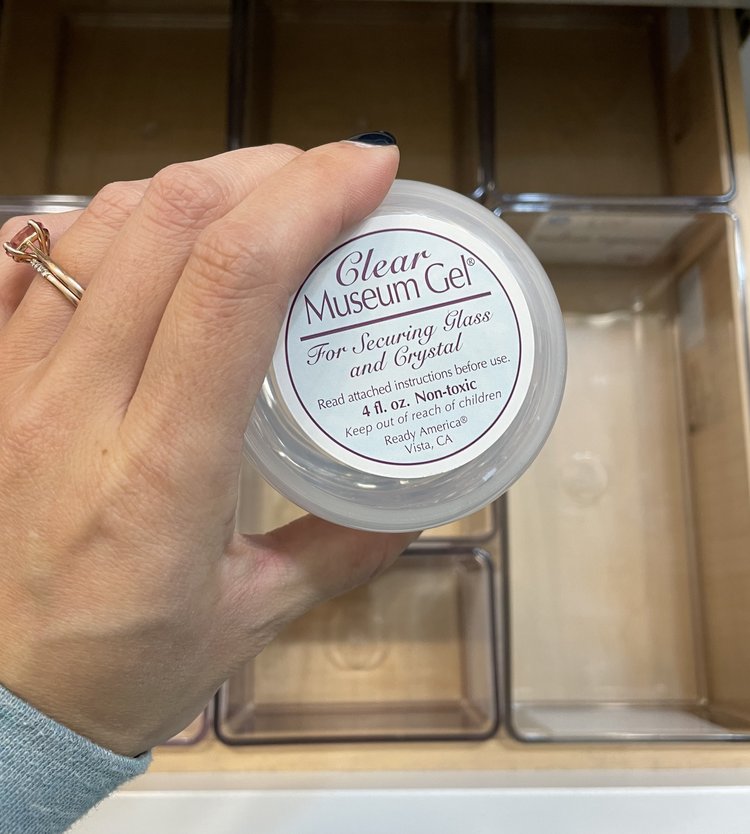
- Museum Gel
- White Baskets with Lids
- Deep Cabinet Bins
- Divided Acrylic Turntable
- Labels
Transformation
After we purged, I worked away on my own and got everything organized. My insider secret for you all is Museum Gel. I place a little bit of museum gel on each corner of a divider before I place in
Art Closet
Challenges
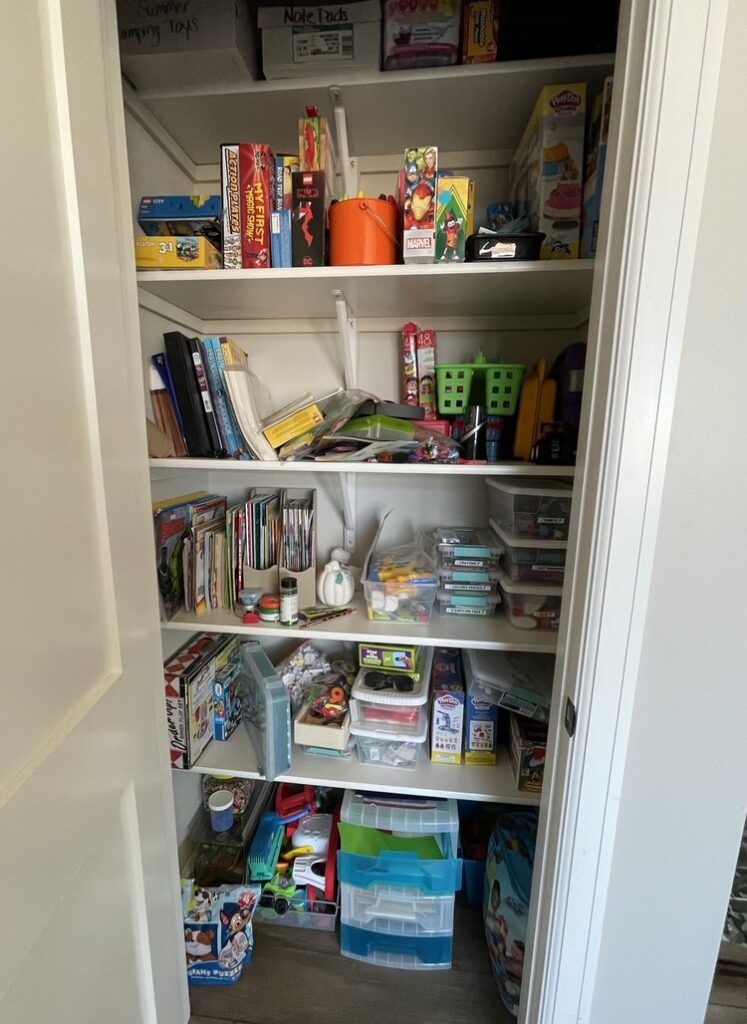
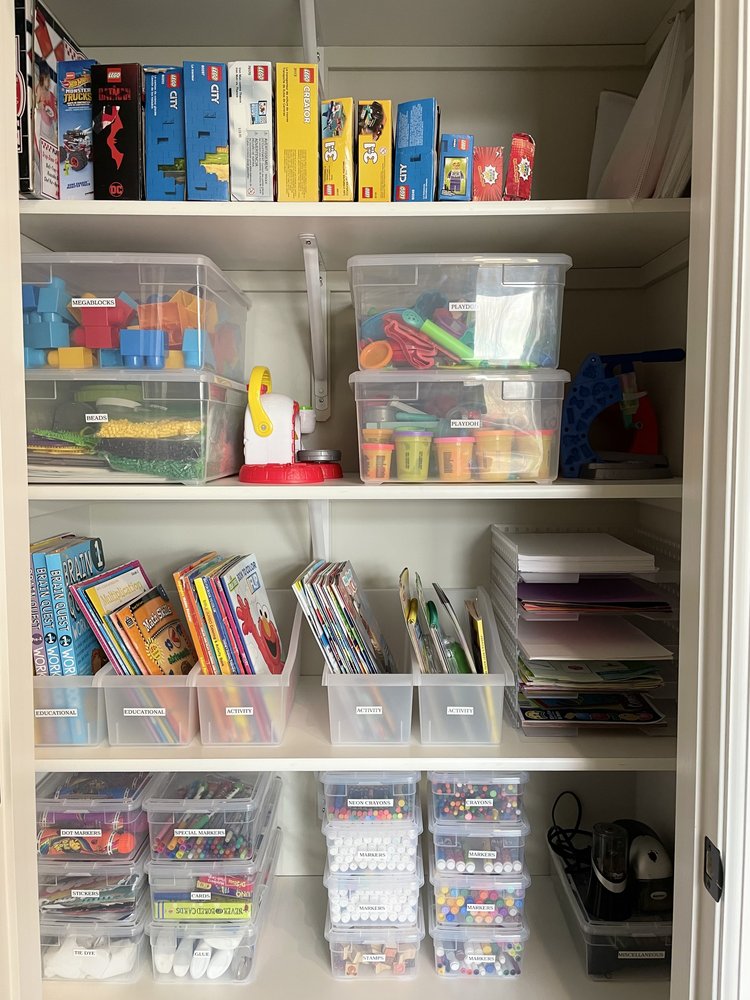
This hall closet is situated right off the living room, so it’s perfect for hiding kids’ art supplies, games, and toys. However, without a system, the open shelves can quickly become a messy area. Nicole had attempted to organize the art closet (look at those lovely, labeled containers)) and had invested in magazine holders to keep activity books grouped together (a fantastic solution).
We took everything out of the art closet, and grouped similar items together. Only a few items were tossed or donated during the purge. Most things were in great condition and used often by the kids––I just needed to create a system that was easy to maintain.
Purging
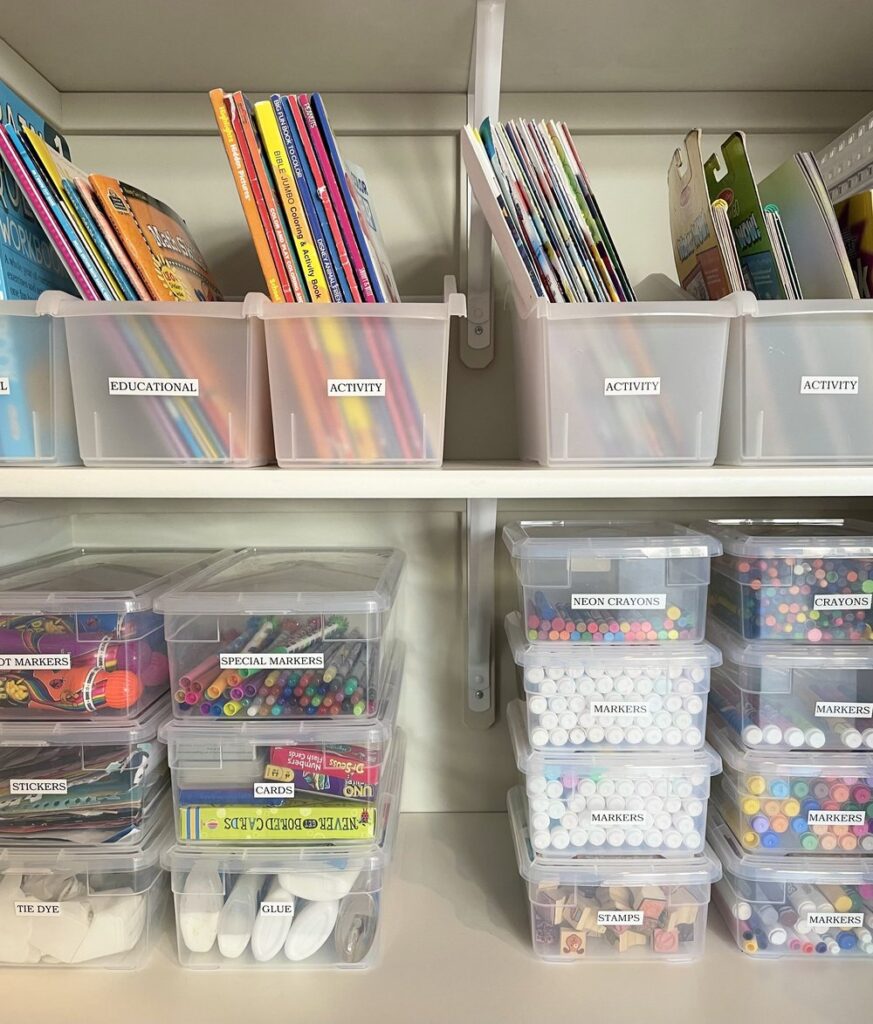
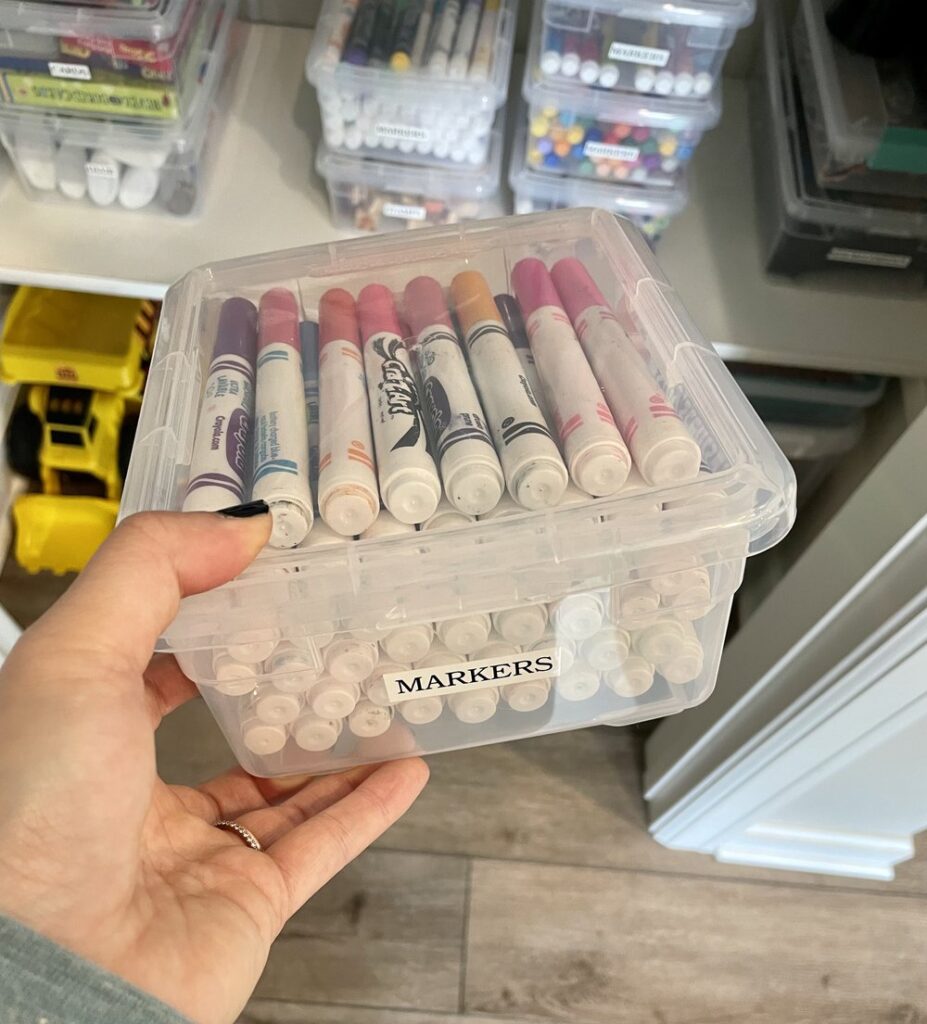
When organizing art and school supplies, use clear, lidded containers that are stackable.
Clear containers make it easy for kids to see what’s inside. Separate items by category and be specific. For example, instead of labeling a container as “markers” categorize by the type of marker if you have several types.
Magazine dividers or the connecting book bins I used are great for large picture books and activity books.
Use paper trays to categorize plain white paper, lined paper, and construction paper. Channel your inner school teacher or envision how a classroom is set up.
Products
- Large Clear Container
- Medium Clear Container
- Small Clear Container
- Label Maker
- Paper Trays
- Connecting Book Bins
Transformation
The Check-In
I check in with clients after they’ve lived with their new space for a week or two. This is the fine-tuning part of the process because the space MUST be functional. Making it look aesthetically pleasing comes second.
When I touched base with Nicole, she told me the organized pantry and kitchen was already causing them to rethink their grocery shopping habits. They were saving money weekly because they only purchased what they needed and were no longer buying duplicates. She got rid of the excess packaging and cardboard as soon as she got home and was motivated to keep everything looking organized.
If you’re feeling motivated to organize your space or want to schedule a complimentary consult, please get in touch!
Be the first to comment