PANTRY ORGANIZATION DREAMS
Kristi and I connected through a previous client referral (seriously, the best thank yous are referrals from past clients), and she asked me to help get the pantry organized. We scheduled a complimentary walkthrough, so I could see the space in person, grab some measurements, and we could talk through what she envisioned.
I asked Kristi what some big wins would be from working together and this is what she said:
- To know what’s actually in there
- To buy fewer duplicates – nothing more frustrating than getting home from the store to find that you already have, 1, 2 or 3 of that item
- To quickly throw dinner together because she knows exactly where everything is (bet a ton of you can relate to wanting that!)
- BONUS win – to have kid snacks easy to find
I can confidently say that we achieved each one of her big wins plus the bonus!
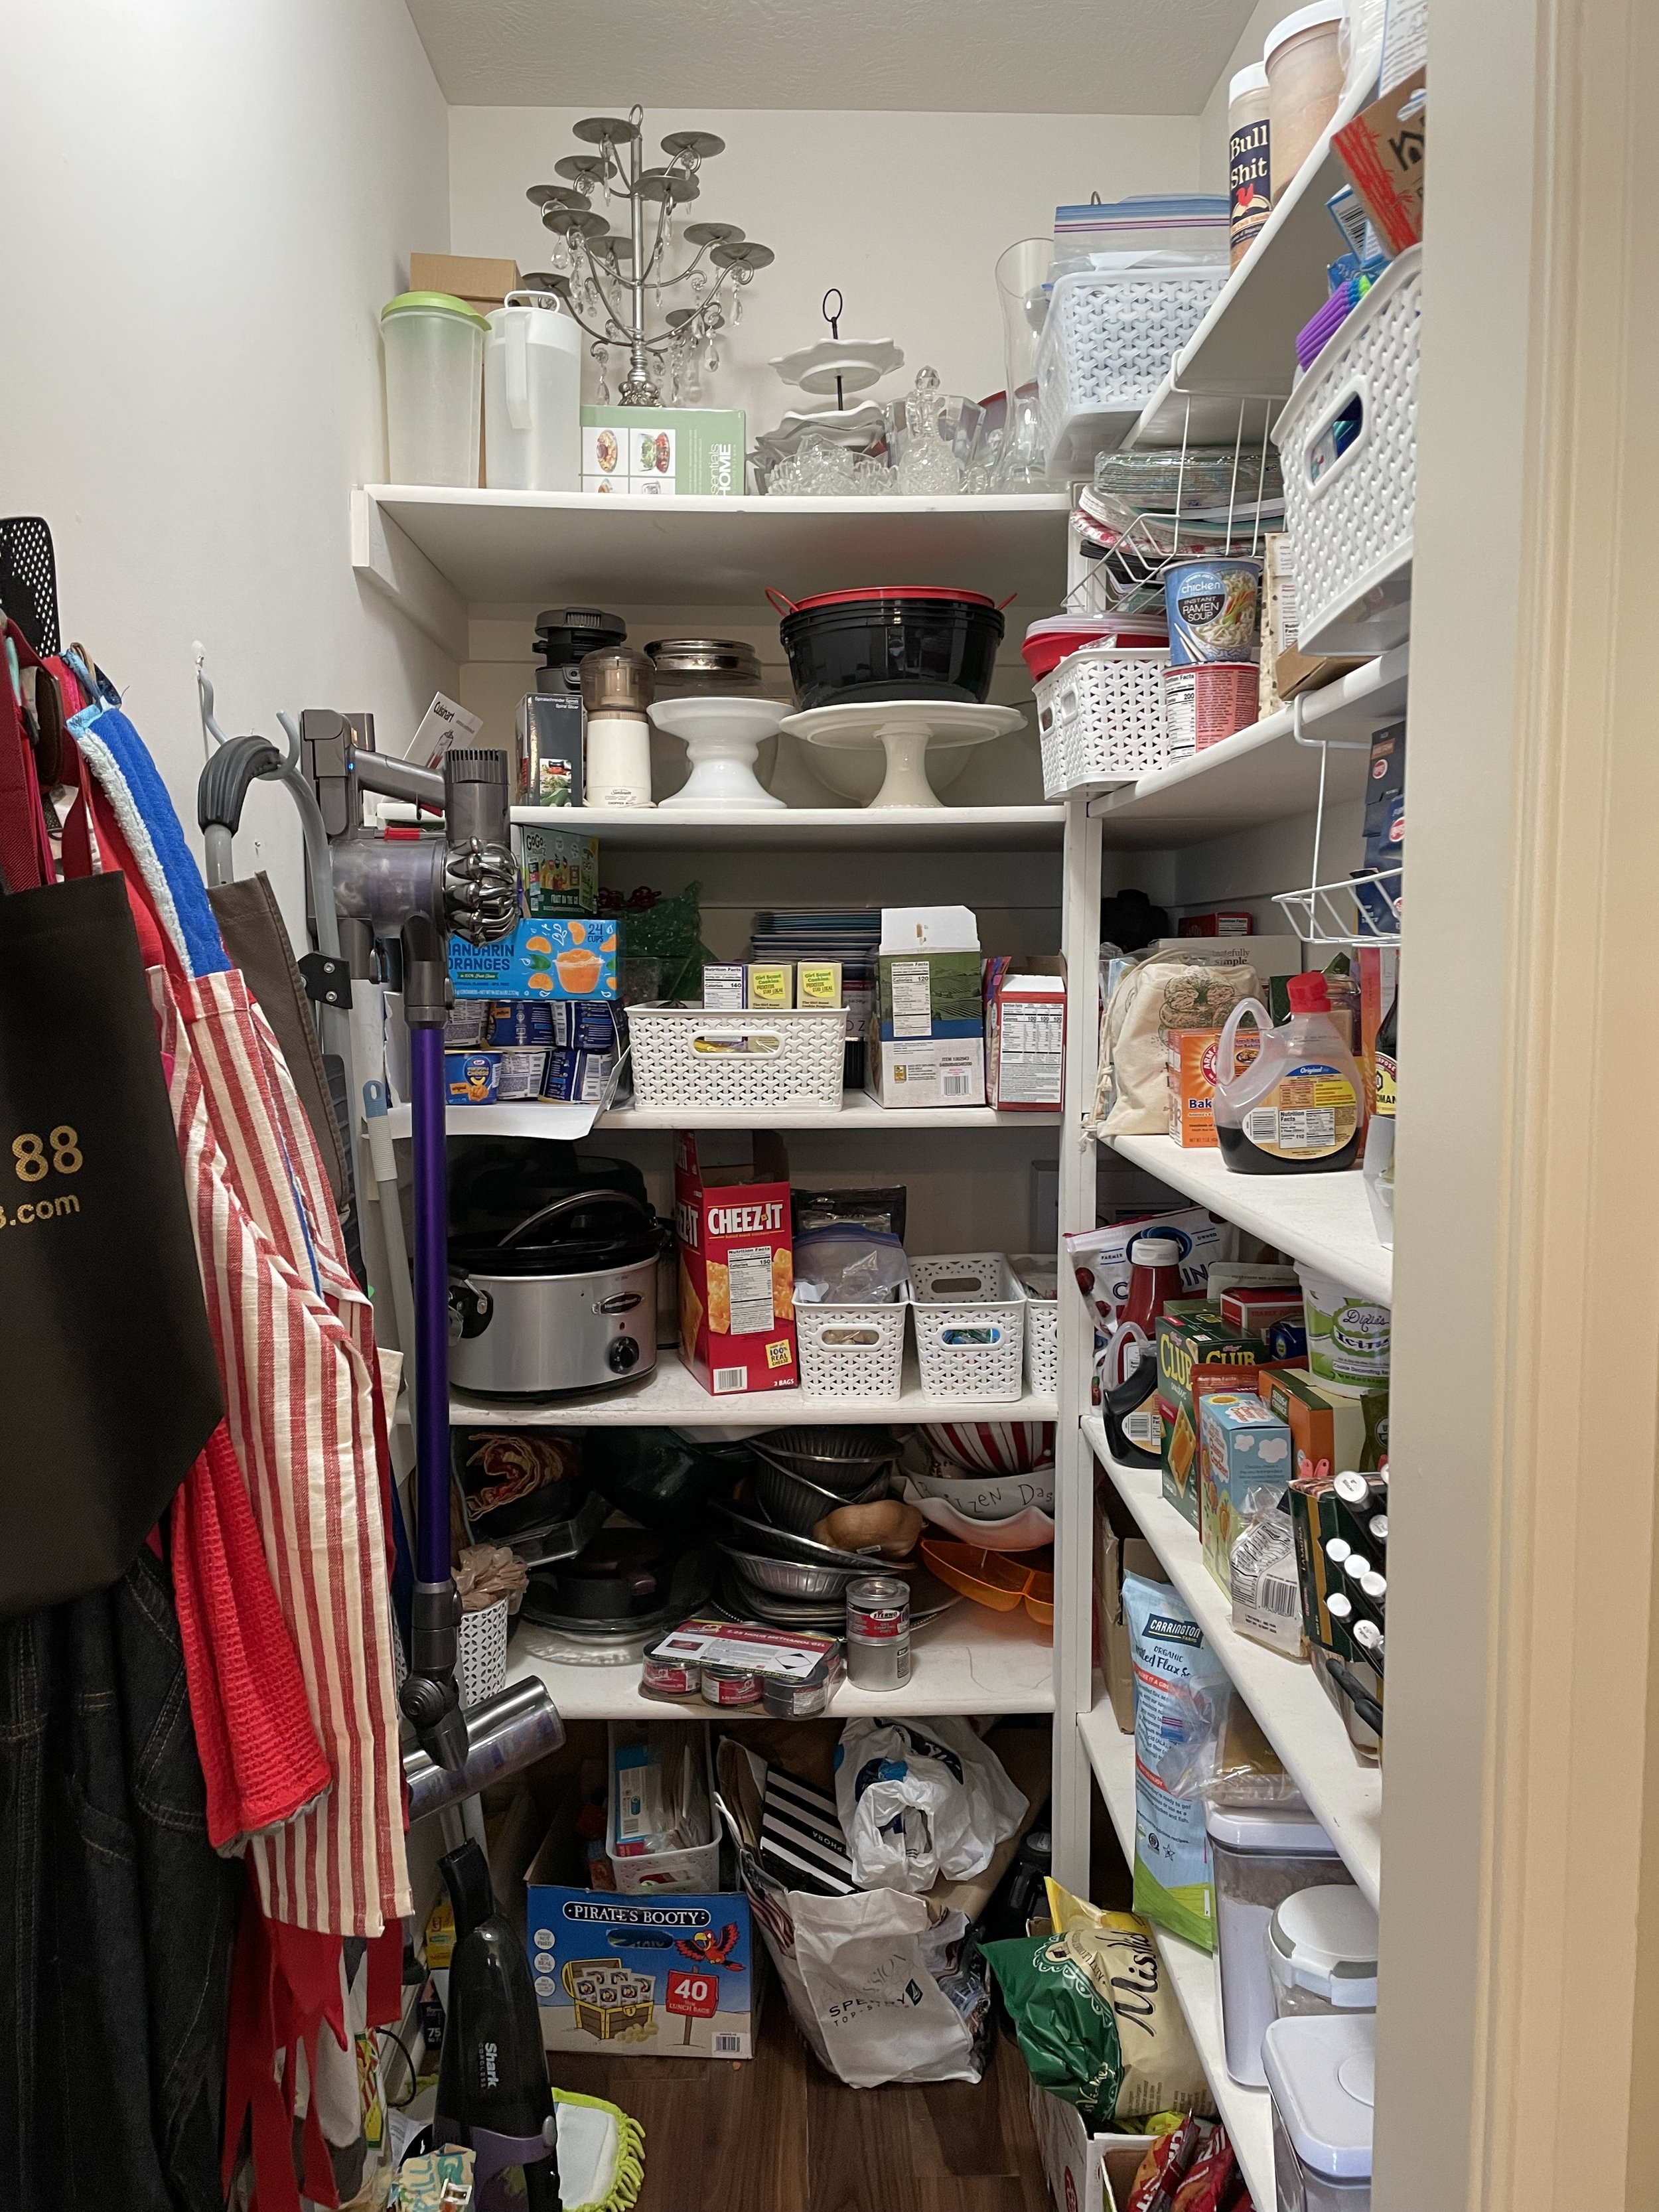
PANTRY BEFORE
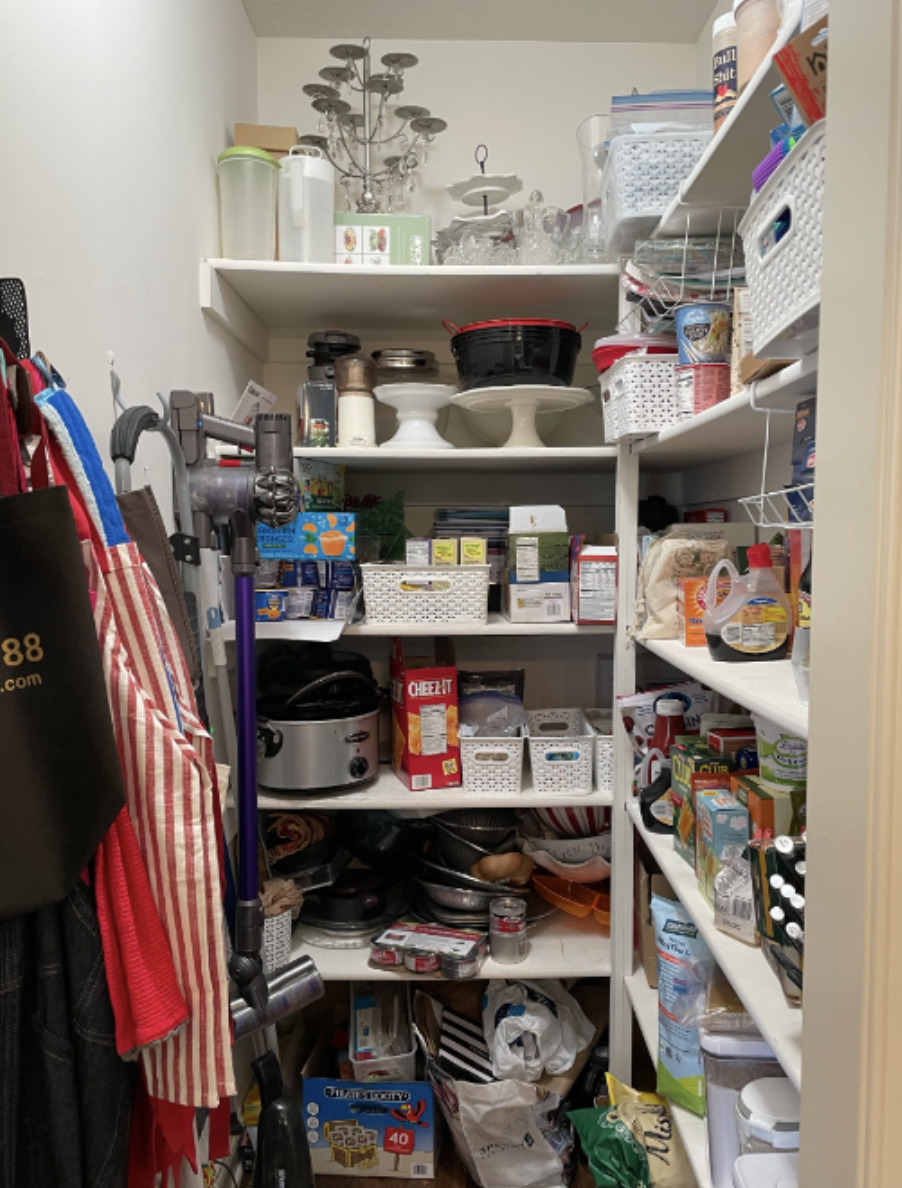
Items were somewhat grouped together (serving dishes on top two shelves), and she had tried containing items with baskets (a huge plus). However, the opaque containers made it had to see what was inside.
Kid snacks were out of their original packaging (another plus), but were shoved in a box on the floor making it hard to see what was inside.
Plastic and paper bags were a visual mess on the floor, and if you know me, that knife block was going to have to go!
DURING
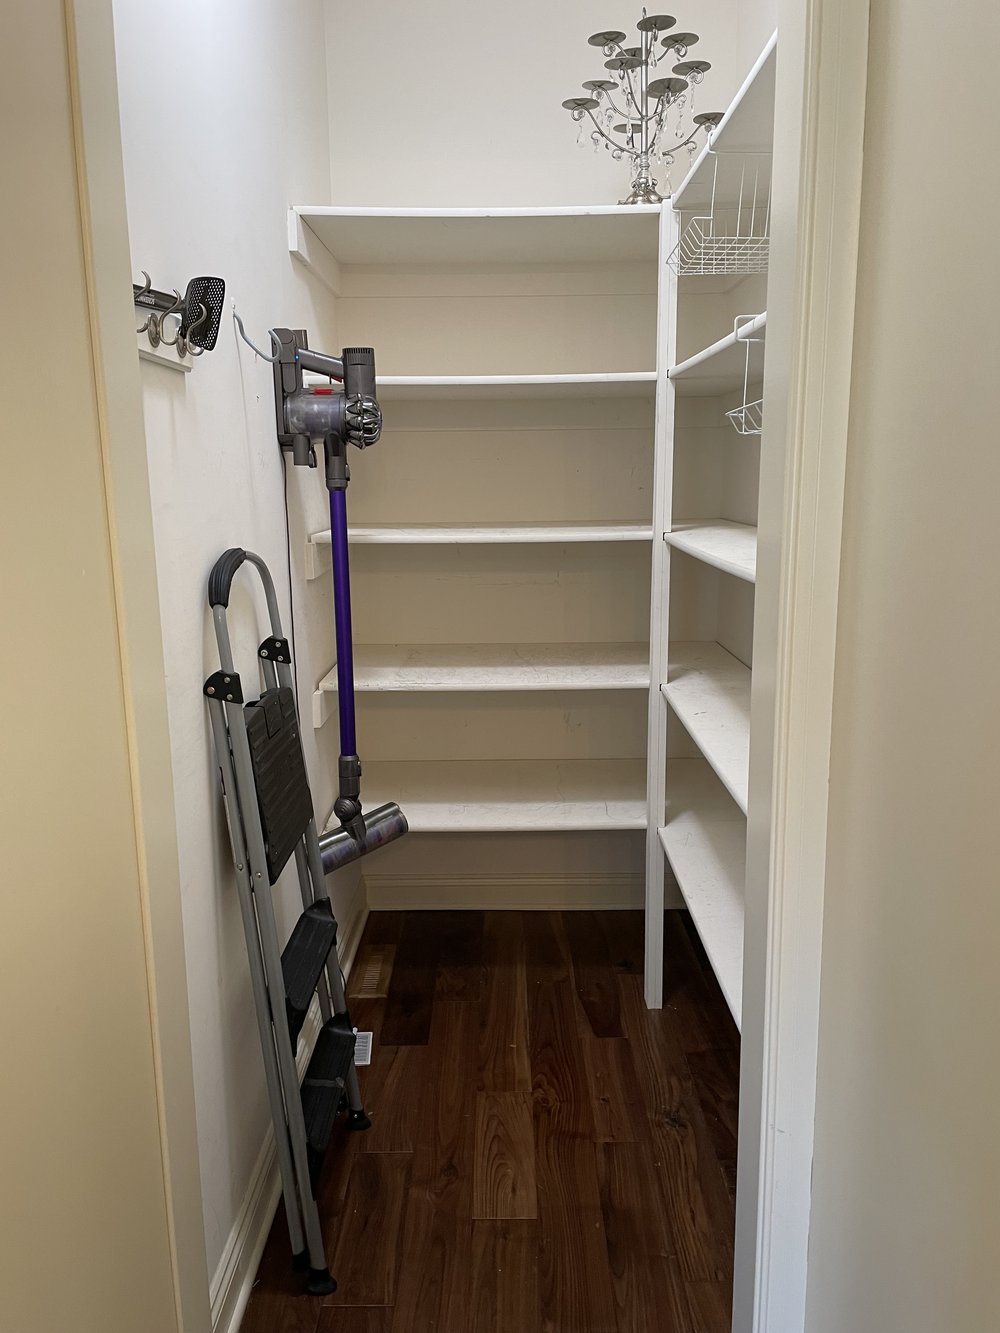
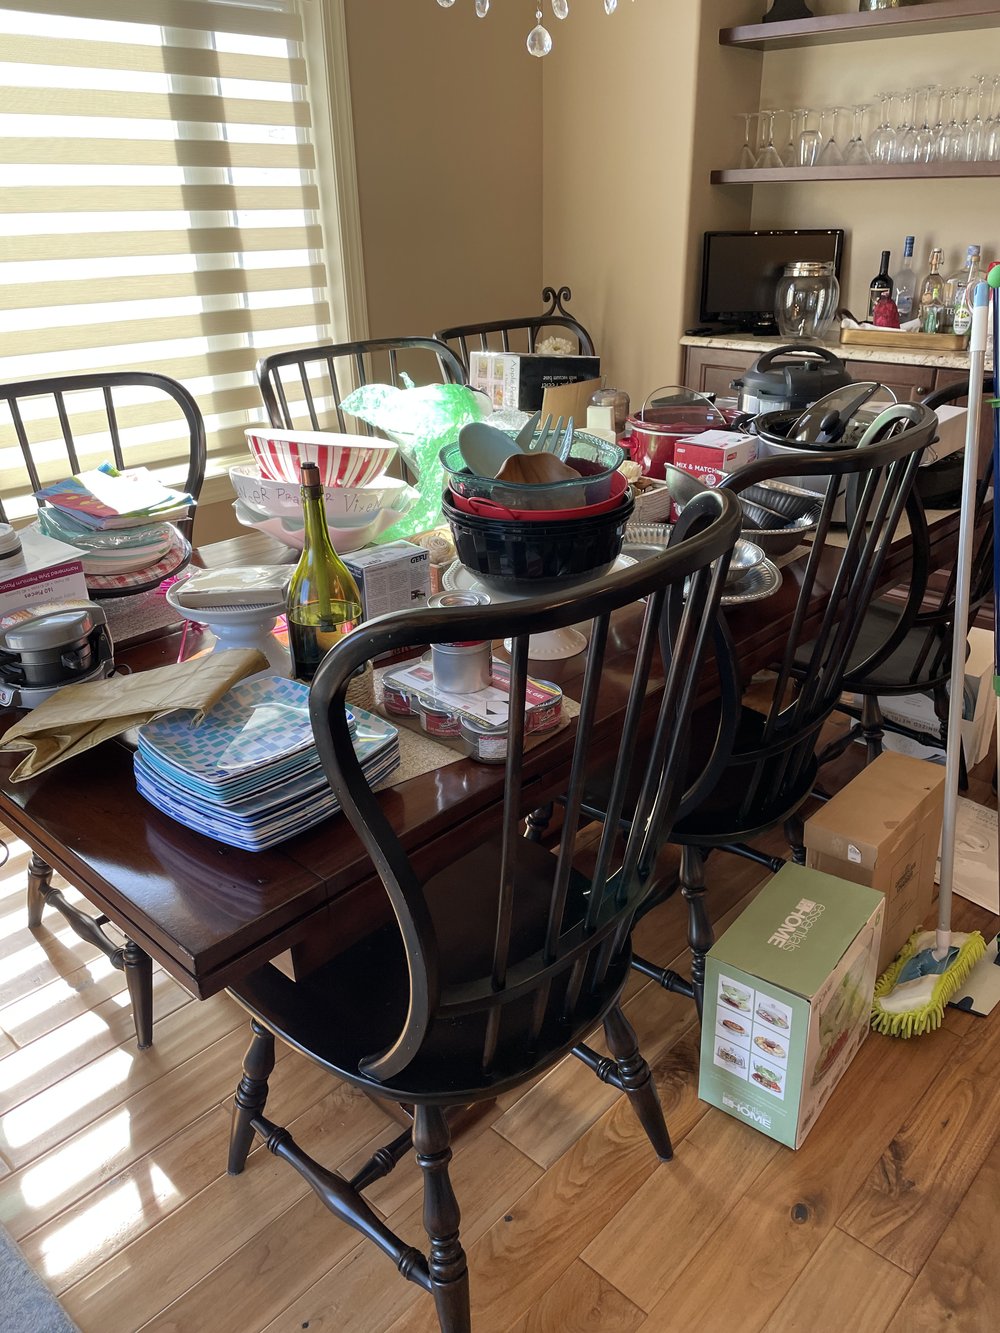
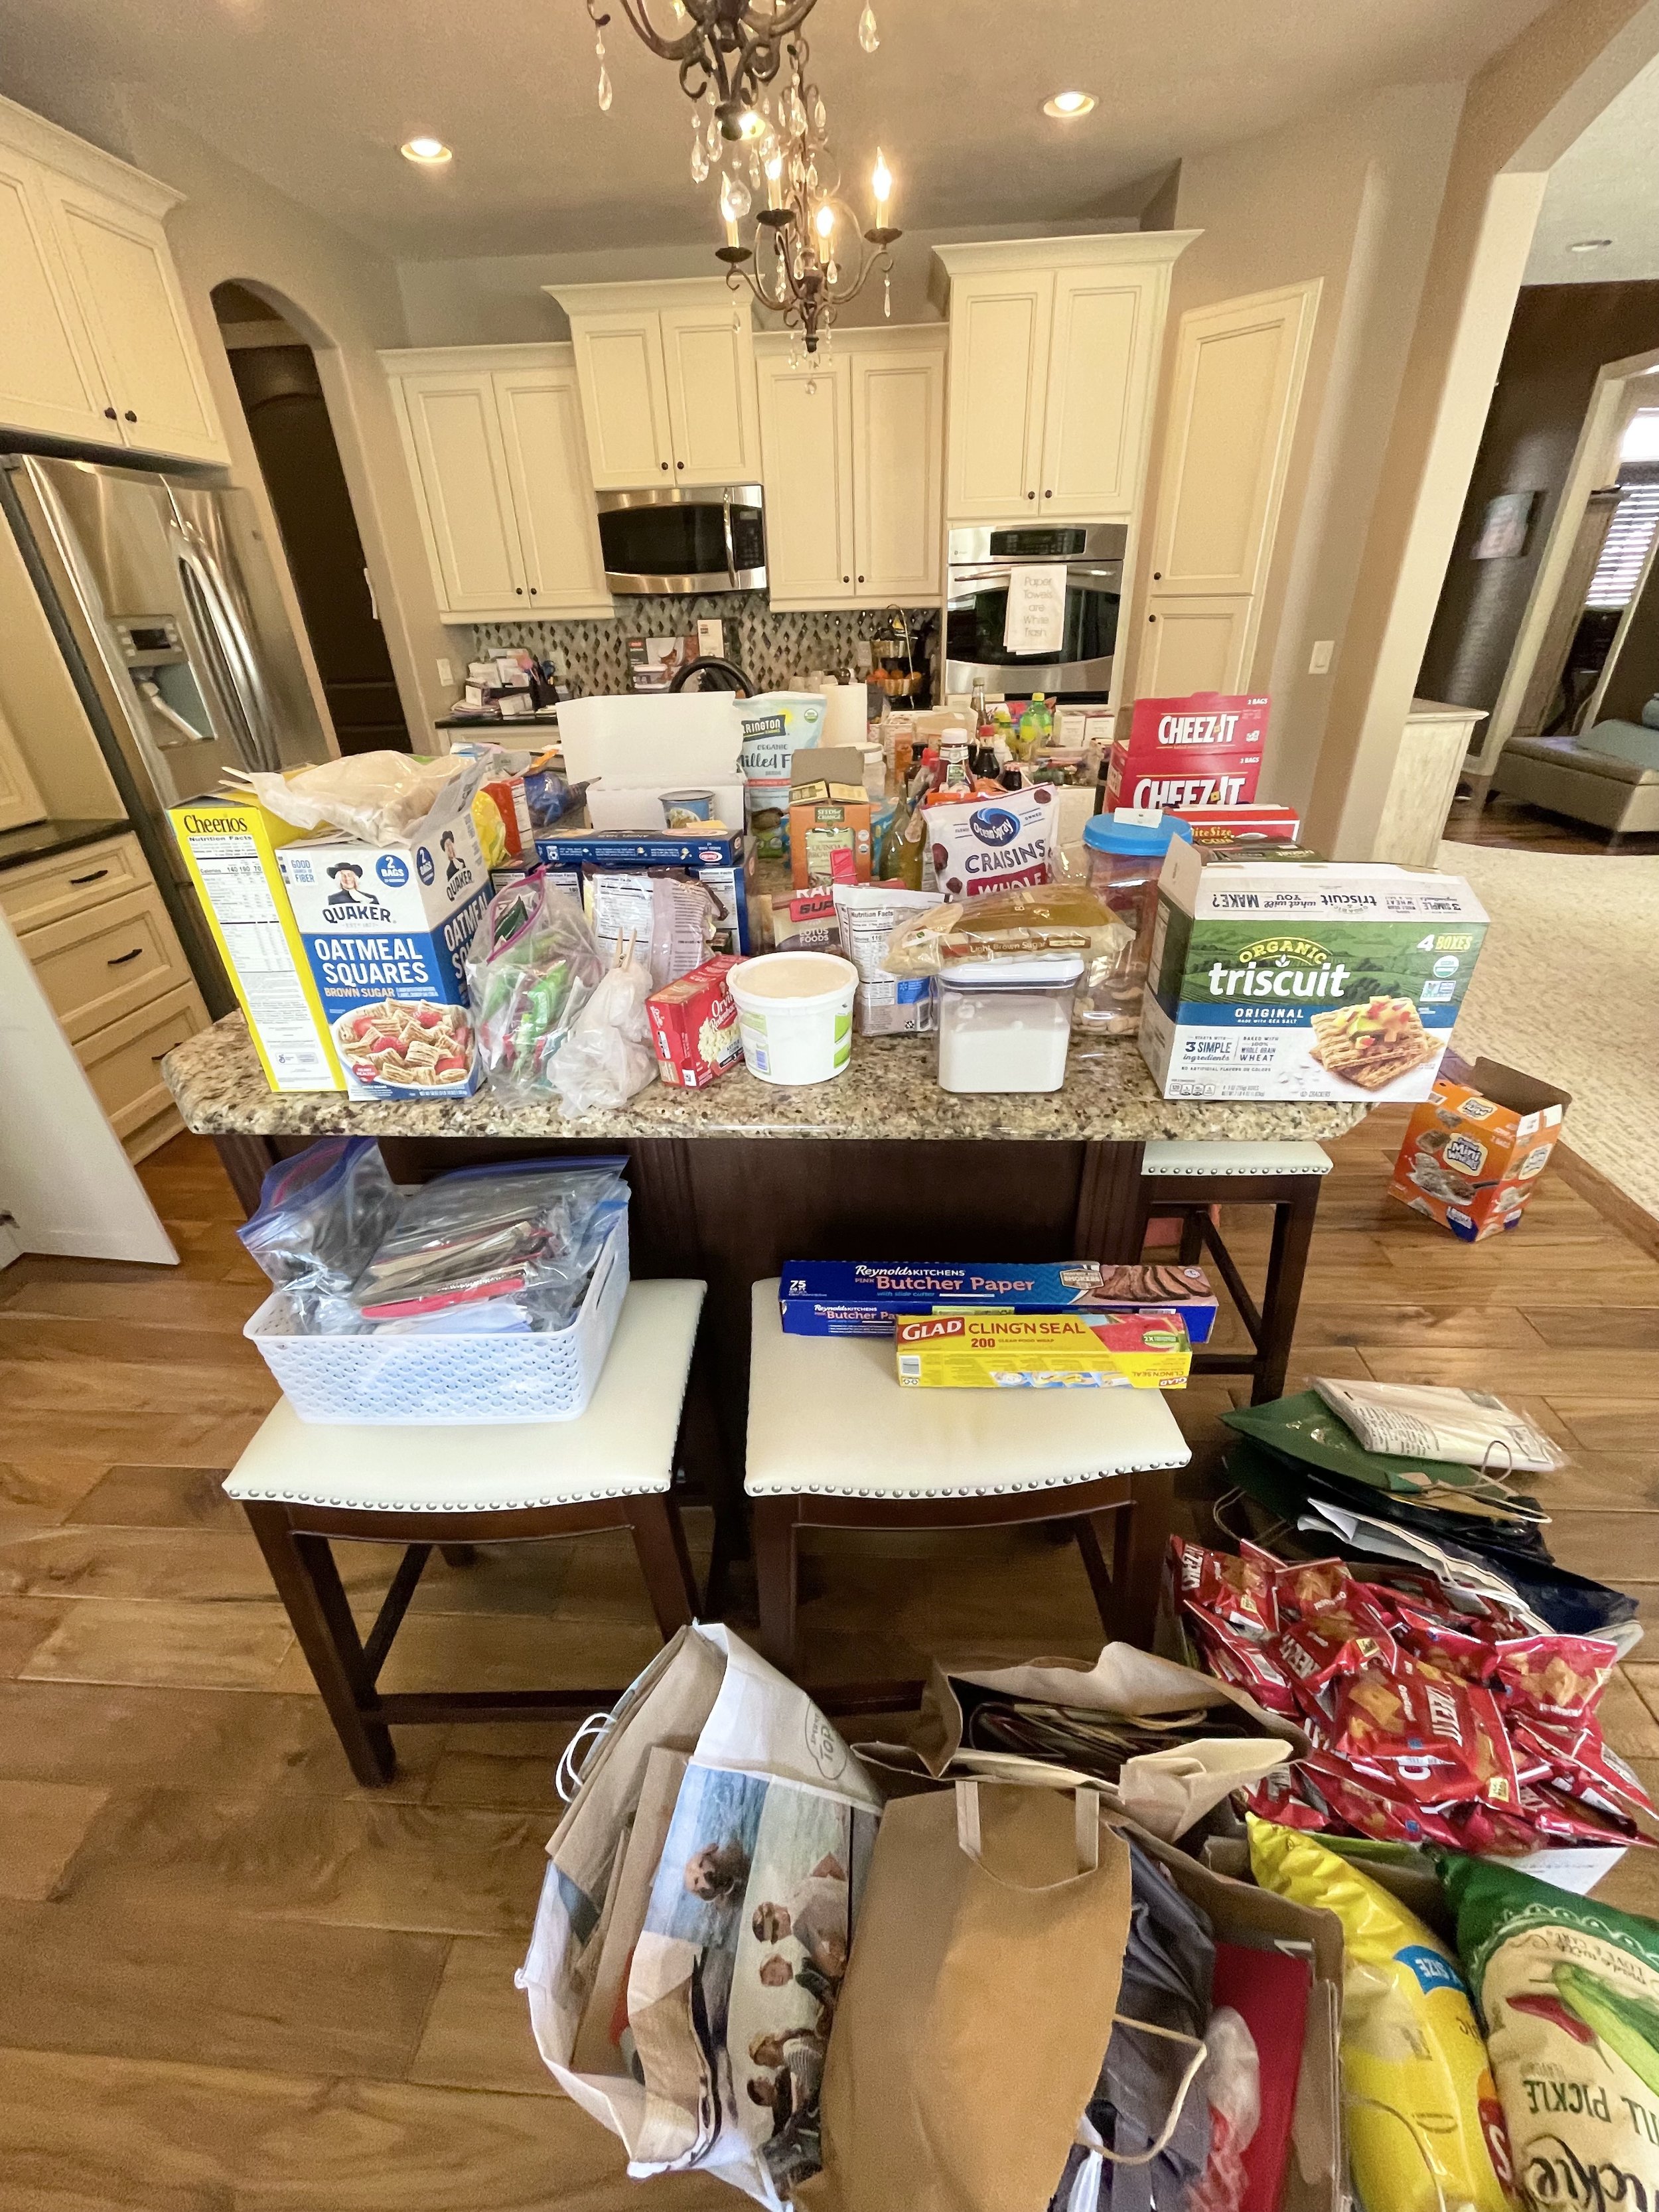
We took everything out of the pantry, and Kristi purged with my guidance. Nearly ten bags of trash and donation went out the door along with a lot of cardboard boxes. I scrubbed the shelves and vacuumed up crumbs, so I had a clean slate.

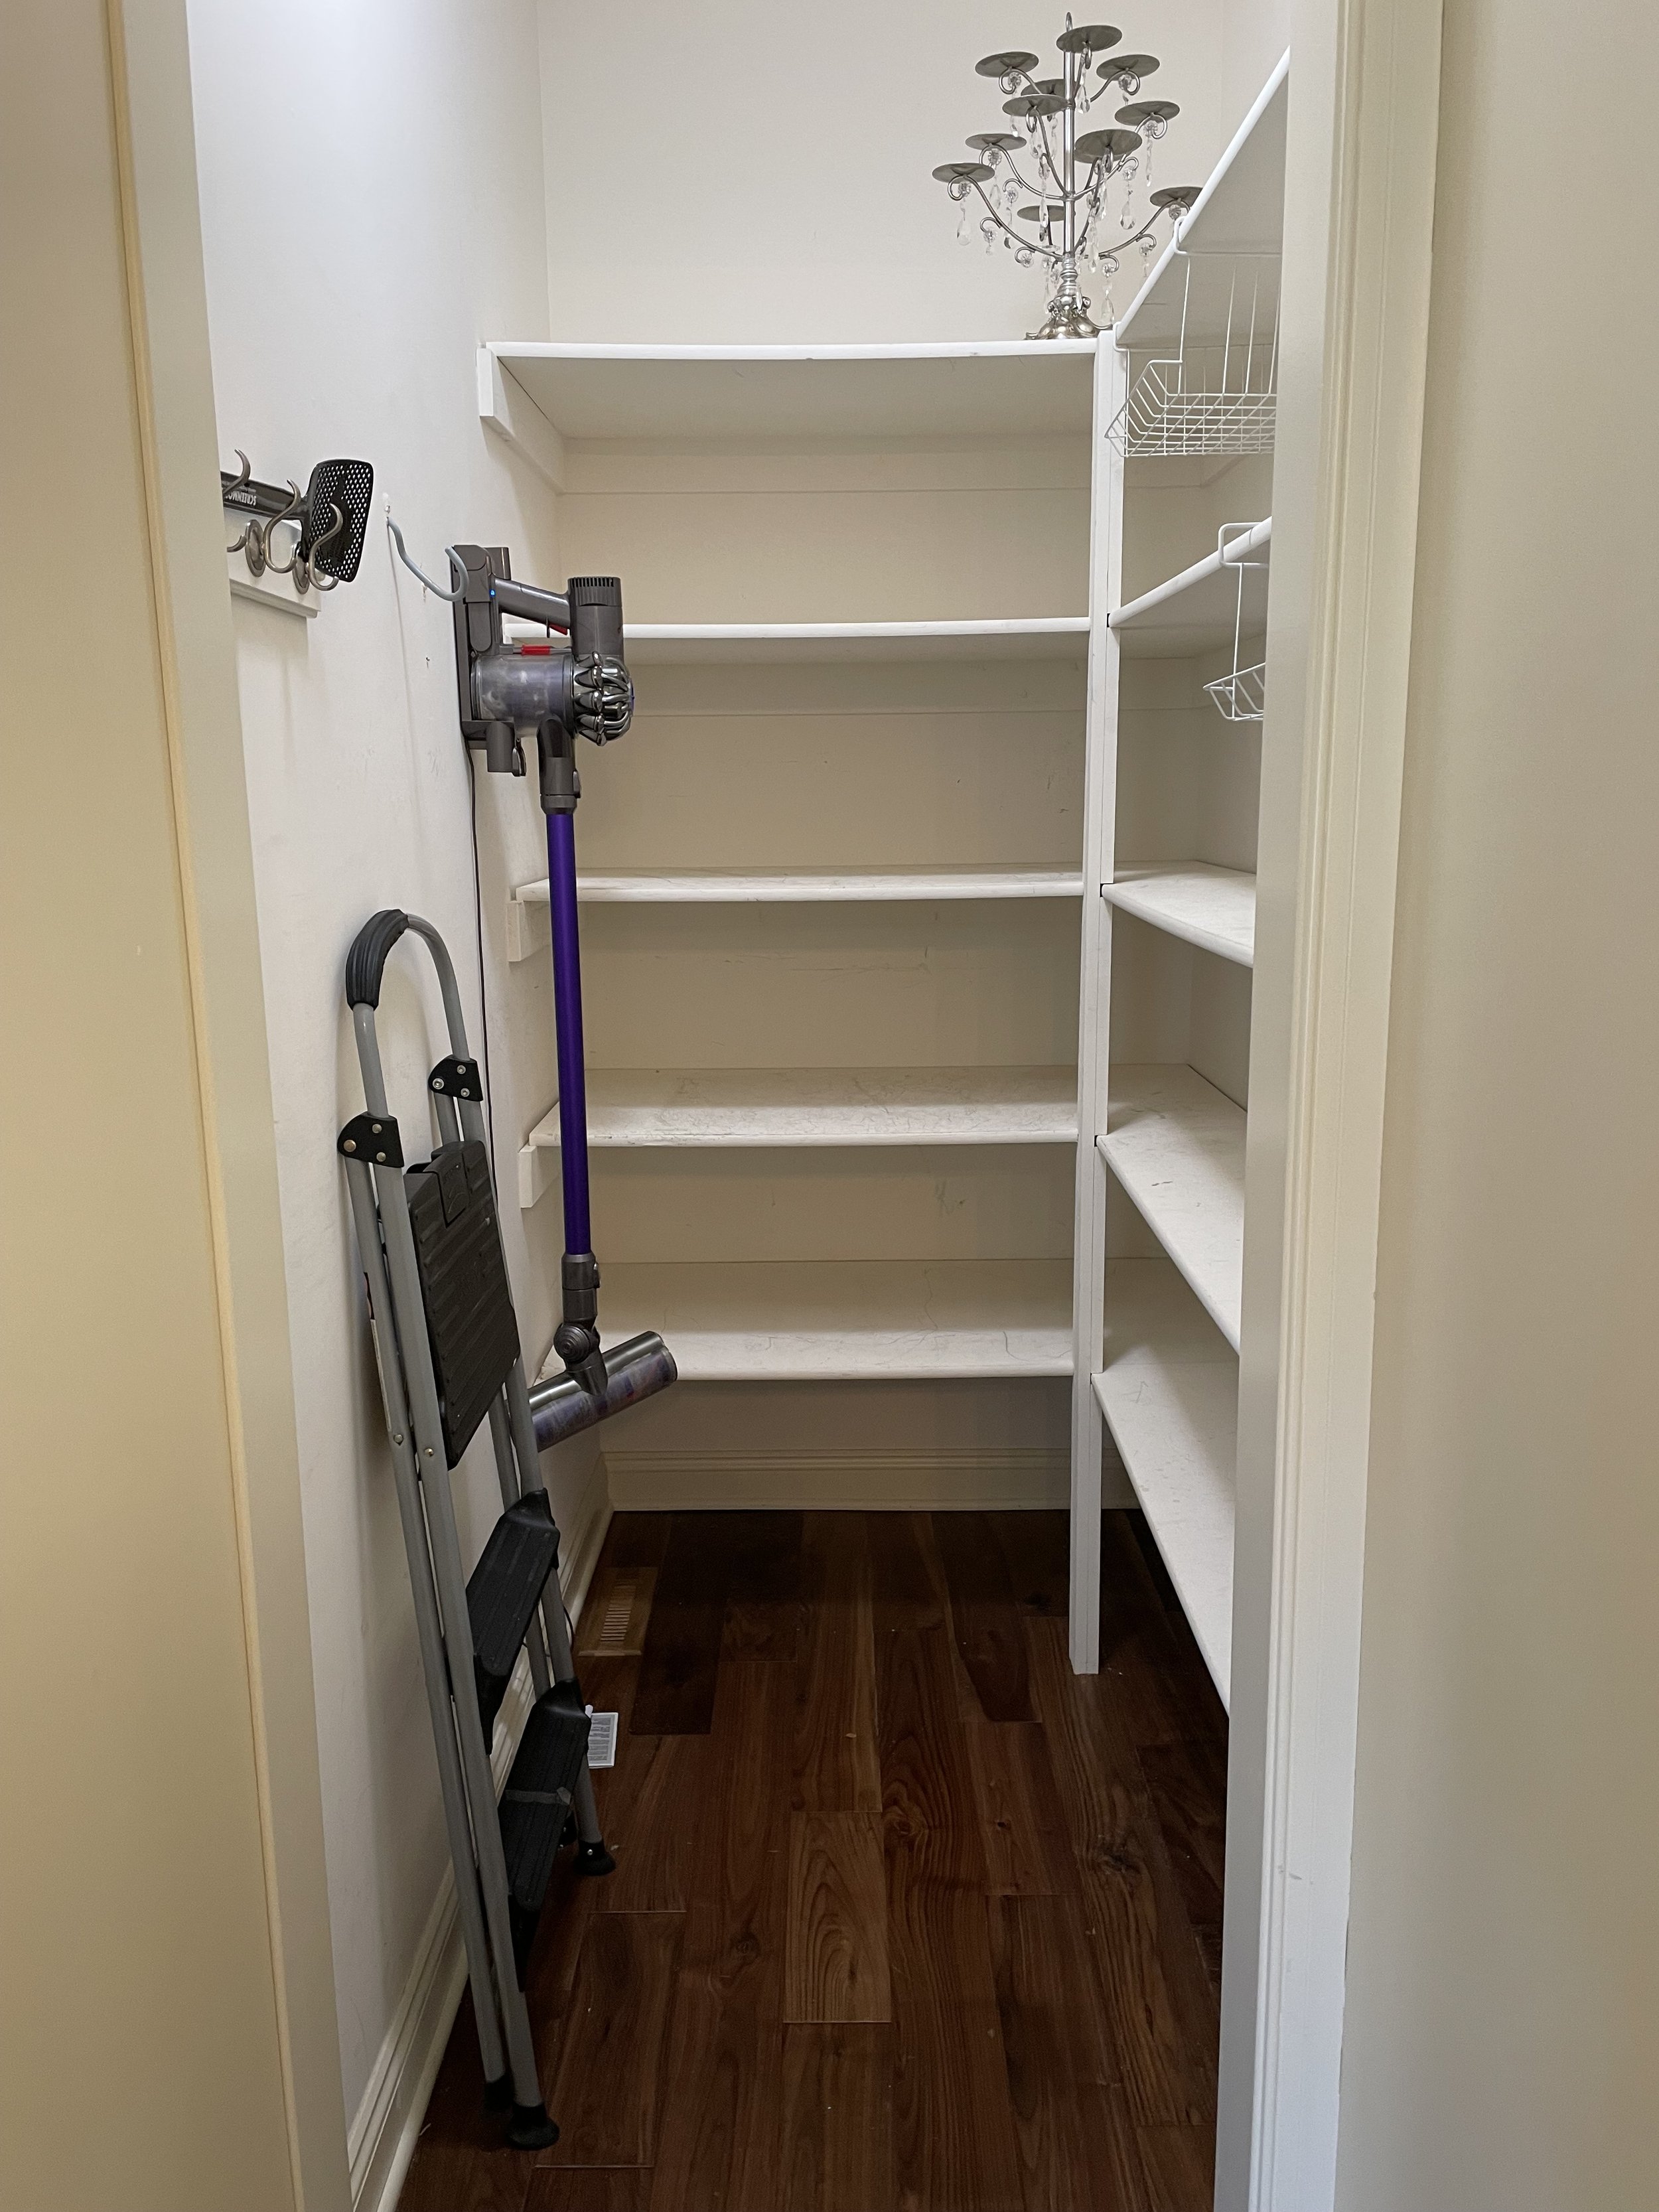

PANTRY AFTER
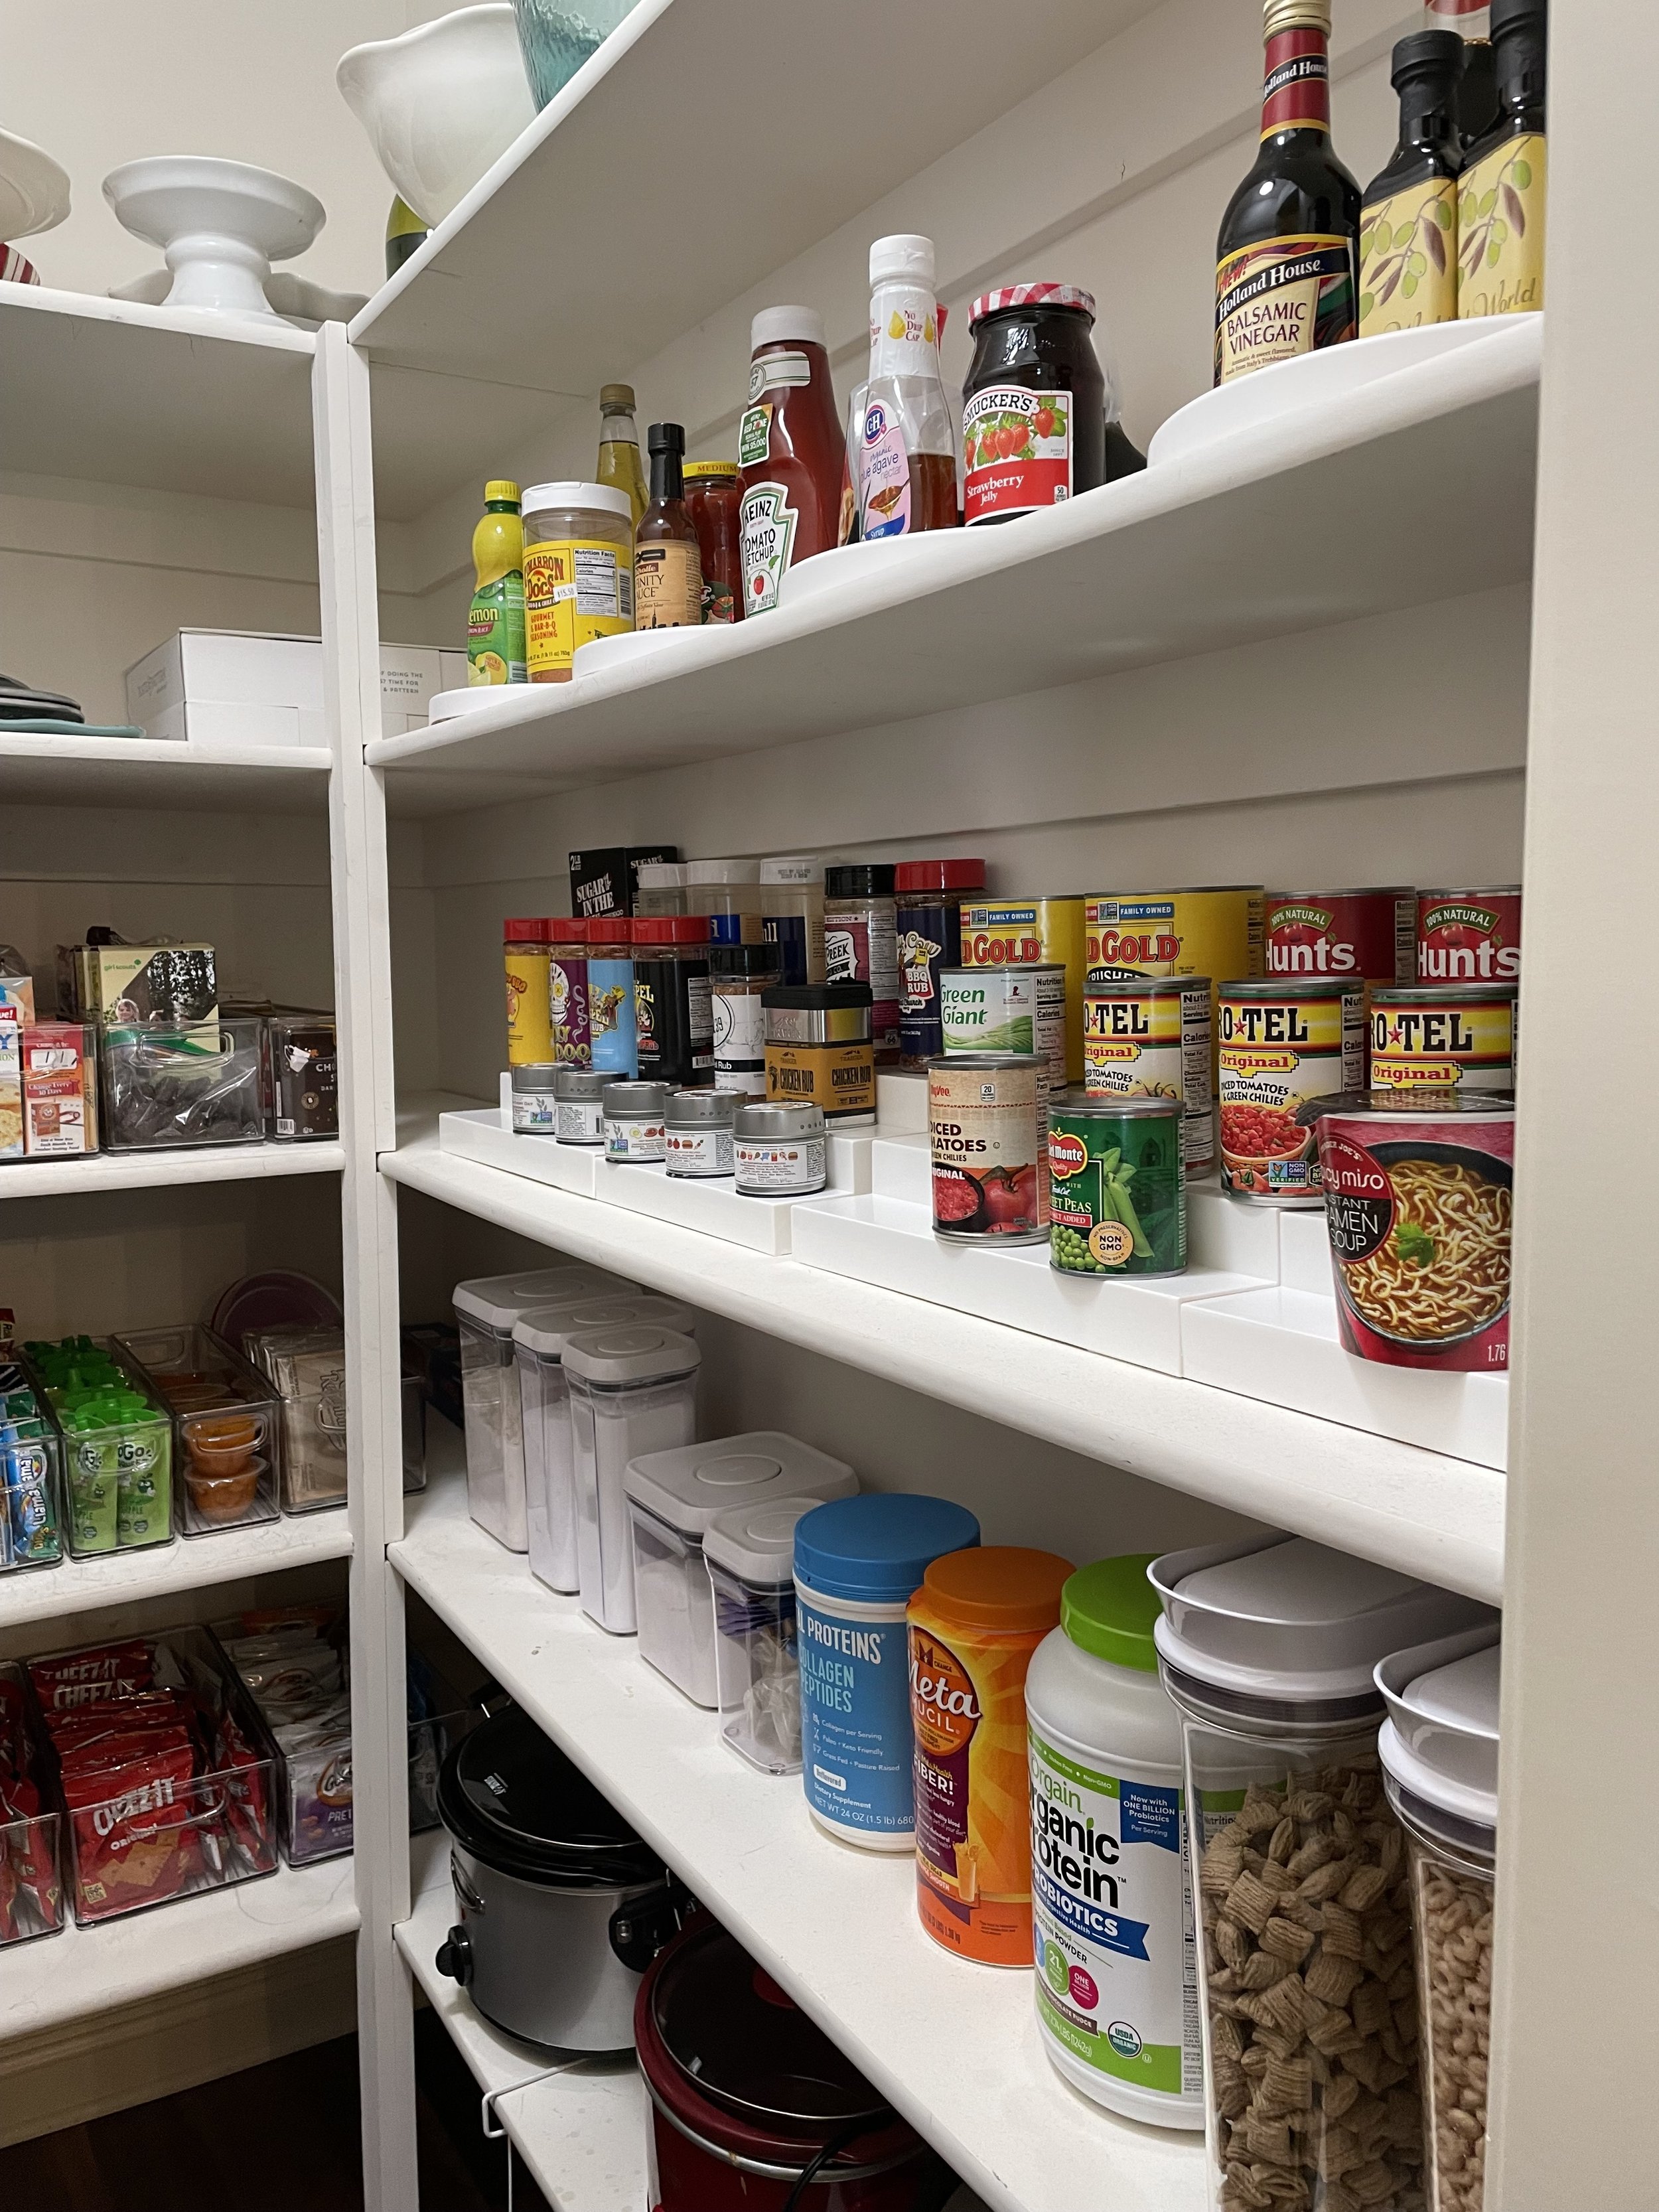
To make sure everything was easy to see, I picked up the following items from The Container Store:
- Turntables
- OXO cereal containers (we reused some of her OXO containers from her wedding)
- Deep, acrylic bins
- Canned goods and spice riser
- White lidded bins (not pictured)
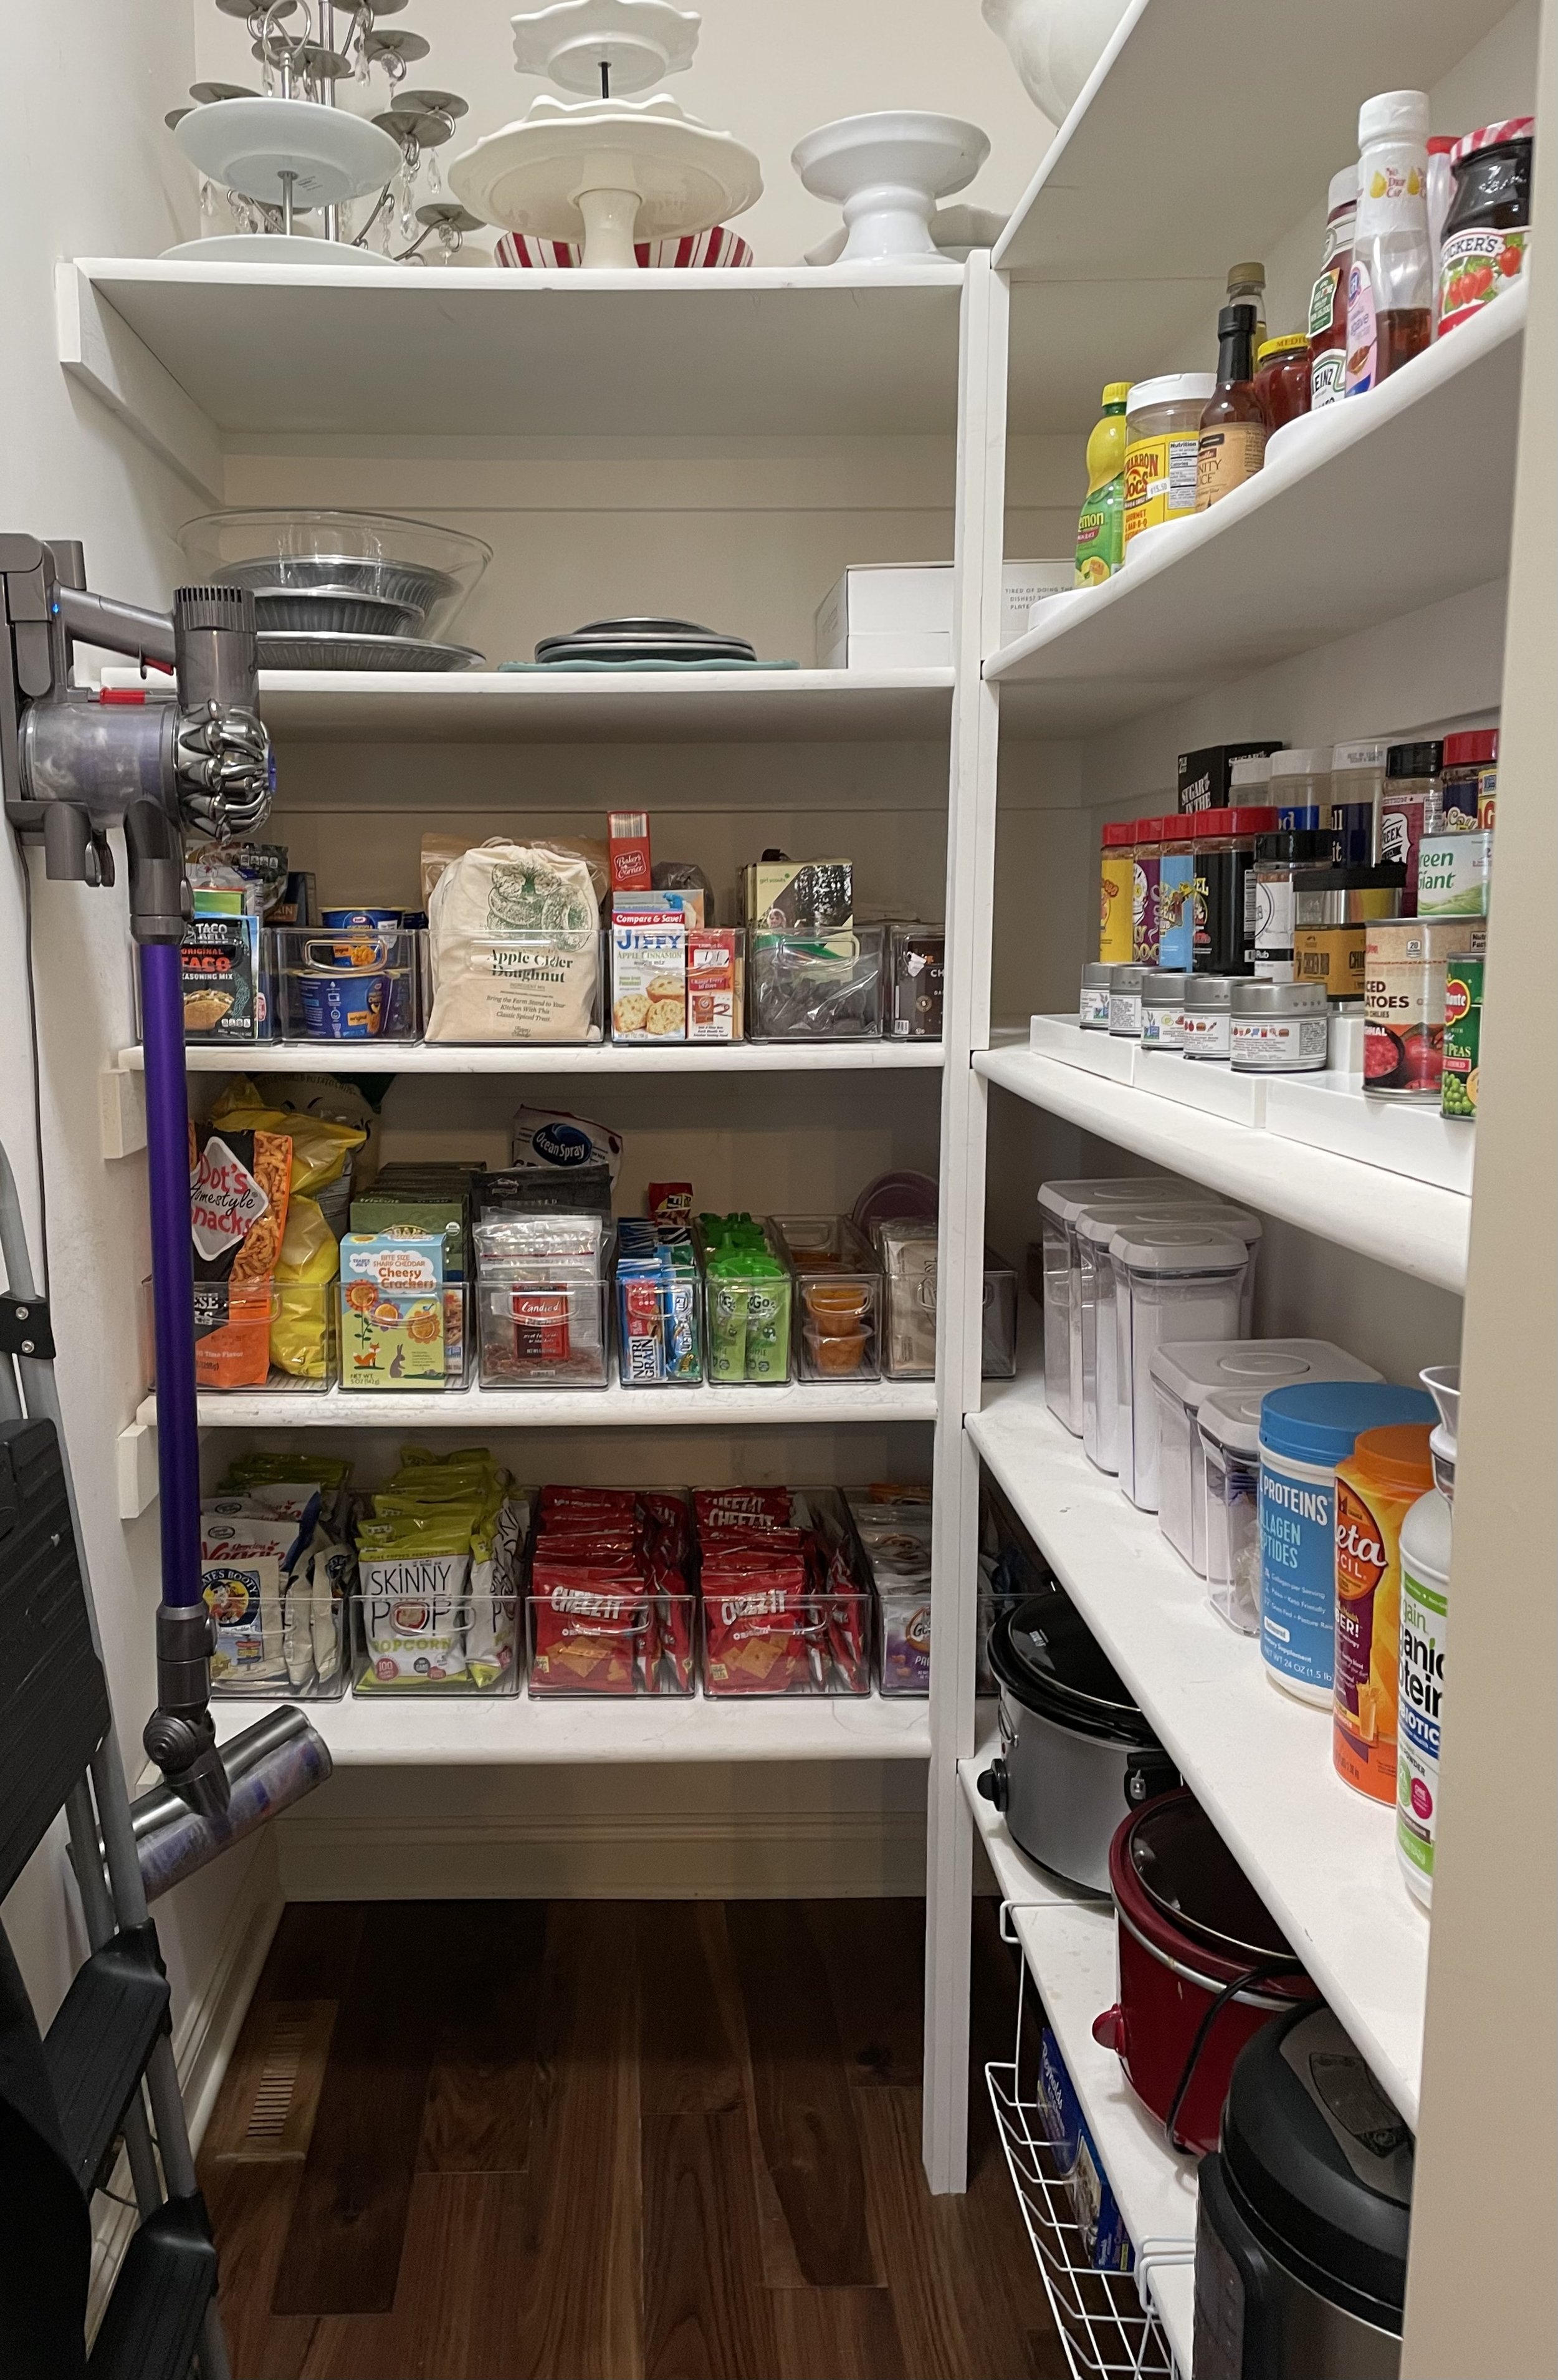
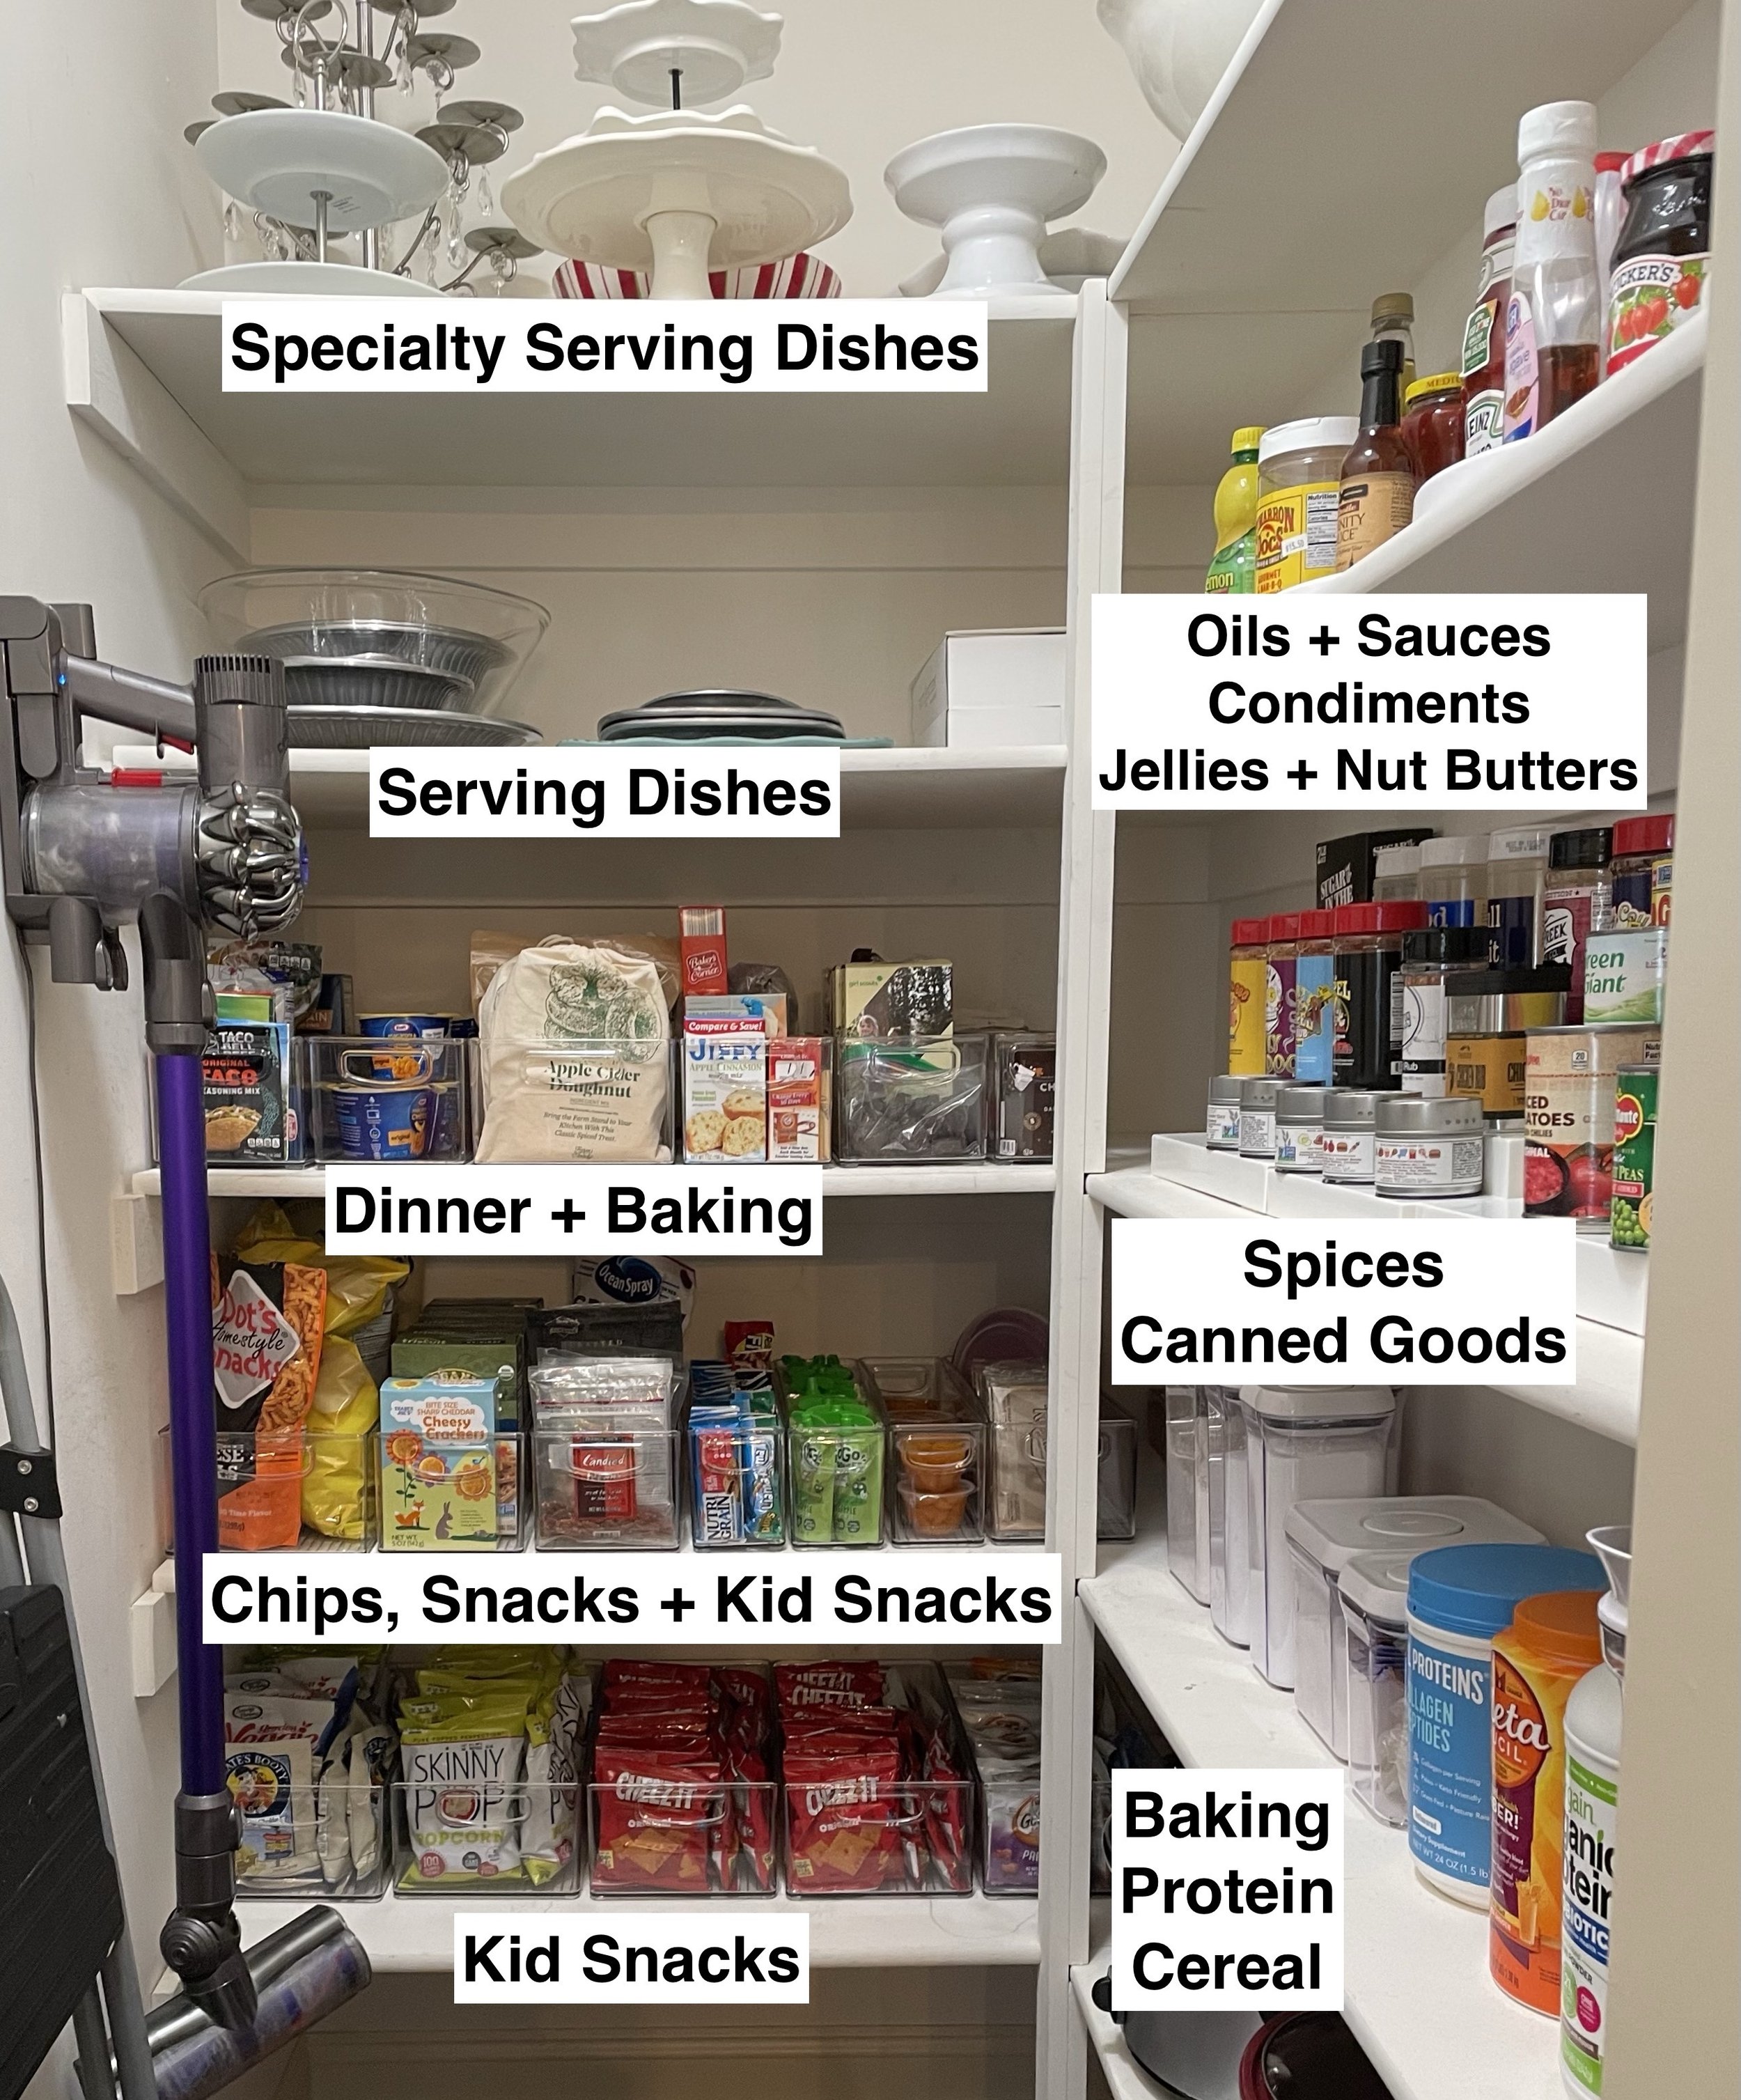
I created zones in the pantry, starting with the top shelf and the lowest shelf. I wanted the kids’ snacks to be at their level and easily accessible (bottom shelf), and I wanted the specialty serving dishes at the top since they are used infrequently. From there, dinner, snacks, breakfast, baking, and other zones were created.
Because the side shelves were shallower, they were perfect for the turntables and risers. I also reused some of Kristi’s OXO containers for flours and sugars (which were unopened from her wedding 10+ years ago!).
Enjoy the transformation photos! And as always, feel free to reach out with any organizing questions!
Be the first to comment